

This is a DIY guide, how to stop rising damp with the Dryzone system.
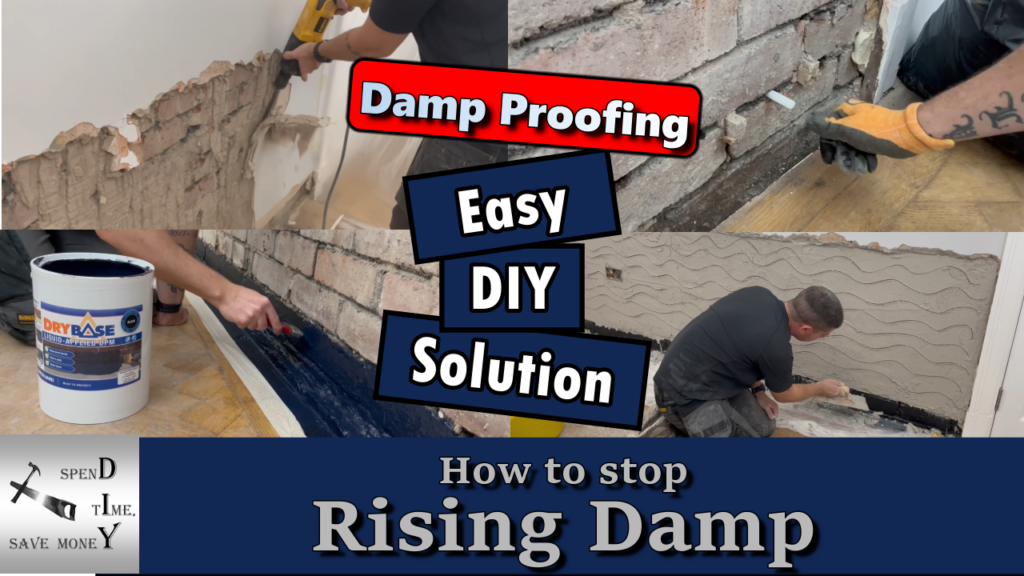
The Video. How to stop rising damp, easy DIY solution
There is also an easy to follow Youtube video on my channel to support this article ‘How to stop rising damp.’ Please feel free to check it out. I would appreciate you giving it a like and subscribing to the channel. Thanks.
The Problem
Our house was built around 1934. It is nearly 90 years old. And before we bought it, it had been neglected for years. Previous owners didn’t have the funds to get building repairs done and they weren’t capable of carrying out the work themselves. So to say some of the building has deteriorated is an understatement.
We have been renovating the house in our spare time now for the past 5 years. Slowly we pick each room apart, uncover the hidden issues and try to put them right and create the home we want it to be.
We come across problems that previous owners have covered up. One such problem is rising damp on some of the walls on the ground floor.
Because it is an older property, the original damp proof course ( DPC ) has most likely failed over time and has eventually resulted in rising damp.
If left untreated, rising damp can be a serious problem for a property and for the health of those who live there.
We need to fix it ASAP.
What is rising damp?
Rising damp is the process of water from the ground traveling up through capillaries in building materials such as brickwork and masonry. The brickwork and masonry are porous materials, they act like a sponge and soak up water from the ground below.
Rising damp usually won’t travel up a wall more than 1 meter. This is because of evaporation. The damp will leave a tide mark where it has risen to.
The ground water that travels through the walls contains salts. When the water reaches the surface of the wall it eventually evaporates and can leave a deposit of salt on the surface.
The damp contained in the brickwork and masonry can spread to other materials surrounding it such as plaster, woodwork and wall coverings.
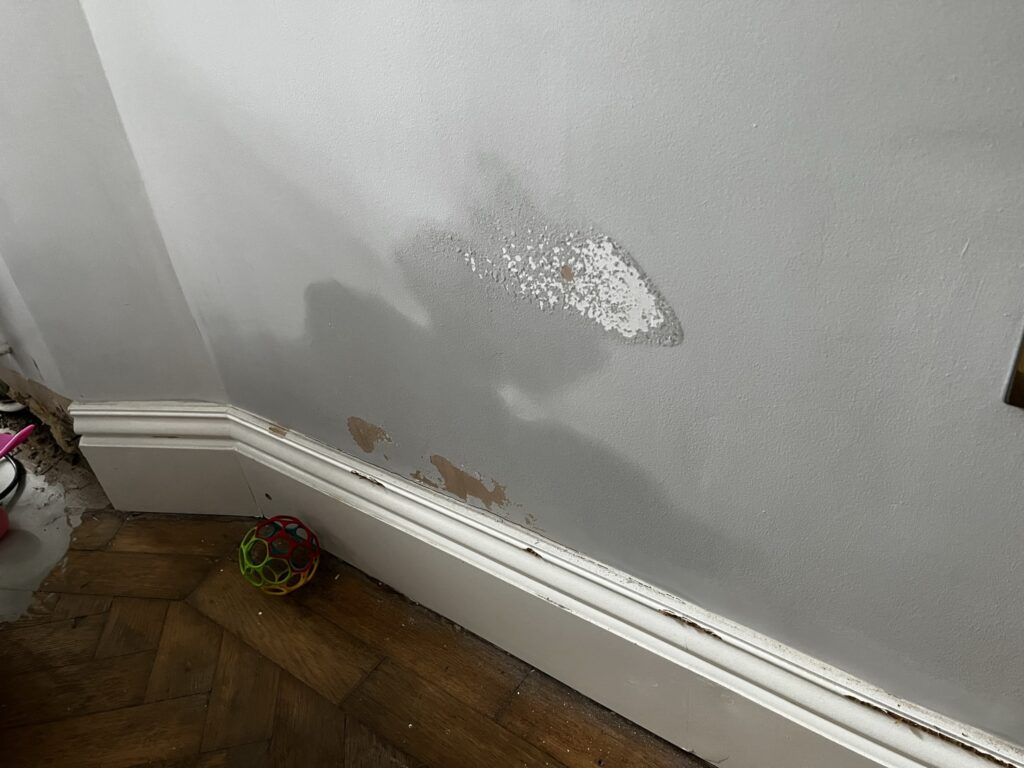
Is it rising damp or penetrating damp?
Rising damp and penetrating damp can sometimes be confused with each other. What might be thought to be rising damp can actually be penetrating damp.
Penetrating damp is caused by an external source of moisture. On exterior walls this can be leaking gutters or downpipes or the external ground level is higher than the damp proof course, or cracks in render or masonry letting in rain water.
On internal walls it could be caused by leaking pipes and plumbing.
I have checked for all the causes of penetrating damp in our house and they have all been rectified. New roof, new gutters, new render etc.
The wall in this article is a solid brick internal wall with no sources of water around it. So it has got to be rising damp.
Call in the pros or DIY?
So we’ve identified that we have got a case of rising damp.
We could call out the professionals. But this would be expensive. Money we don’t really have and money that we could spend elsewhere on the renovation (or in my workshop).
The answer as always is DIY. We are going to do the job ourselves. We’ve never done this before but how hard can it be?
The treatment to stop rising damp
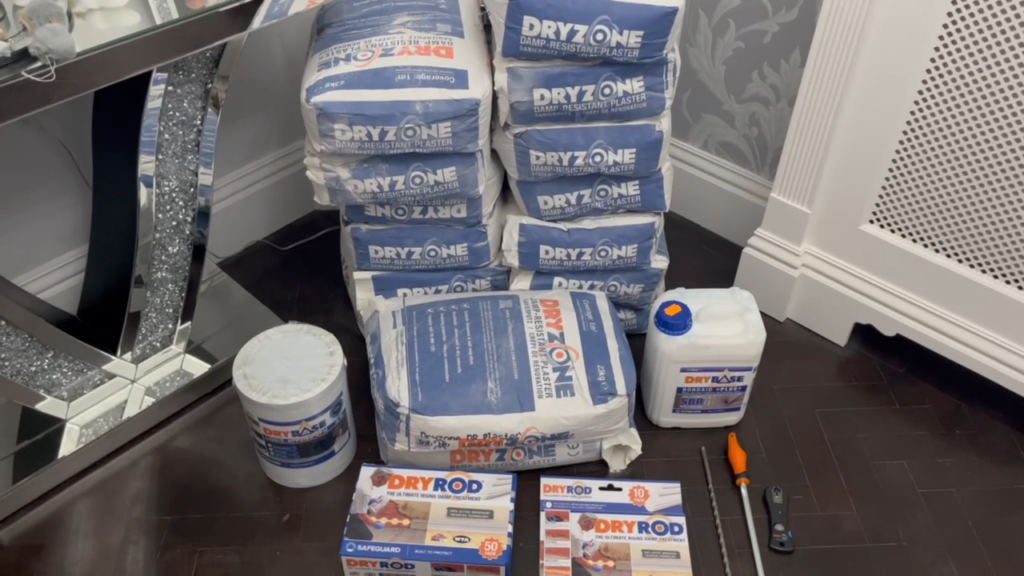
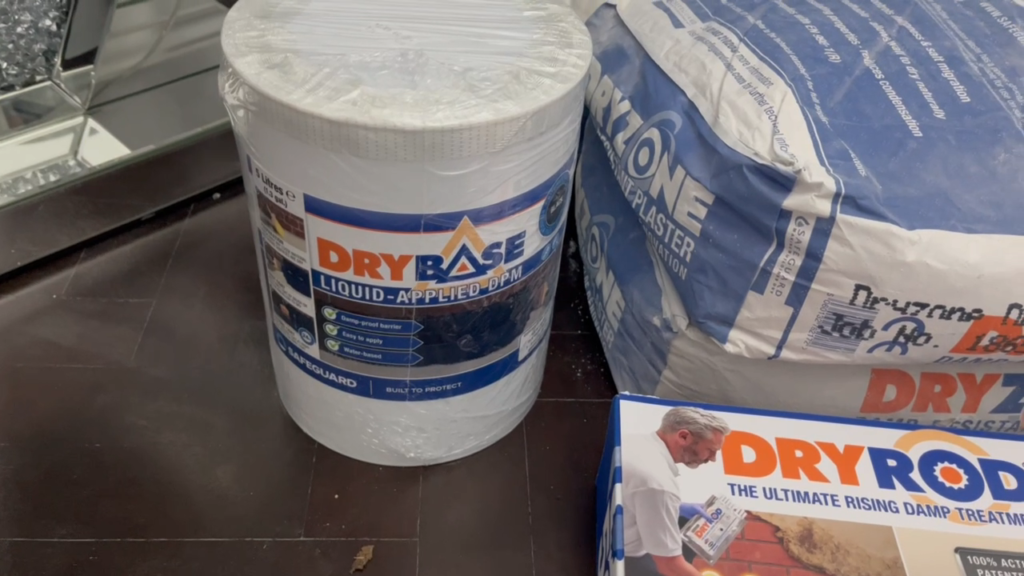
We did our research on the internet and it lead us to a company called Safeguard. They have a system to treat rising damp called Dryzone and it looked like it was DIYer friendly and something we could do ourselves.
We contacted Safeguard and discussed our issues. They gave us some great advice and recommended their Dryzone system.
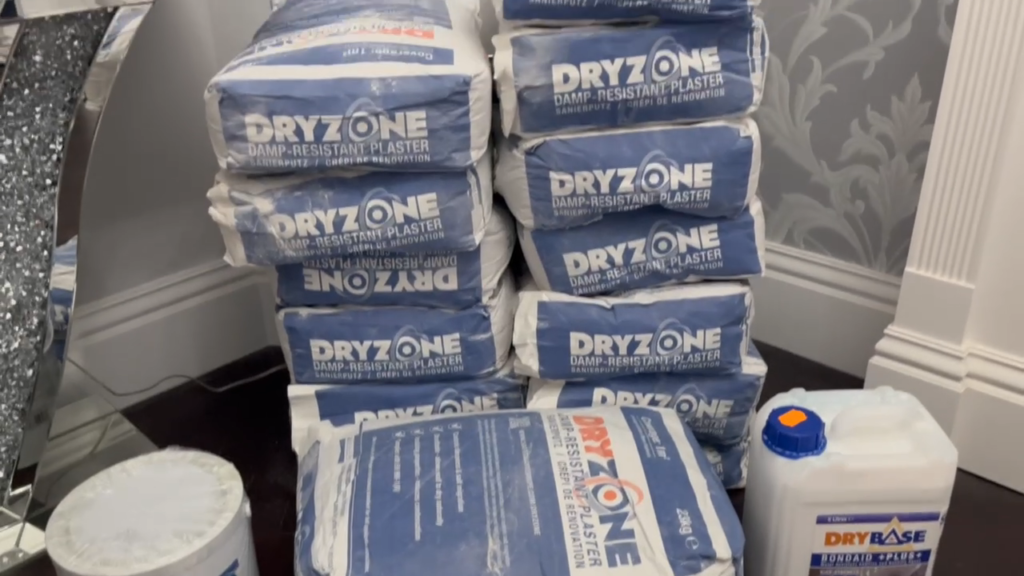
They sent us out everything we needed.
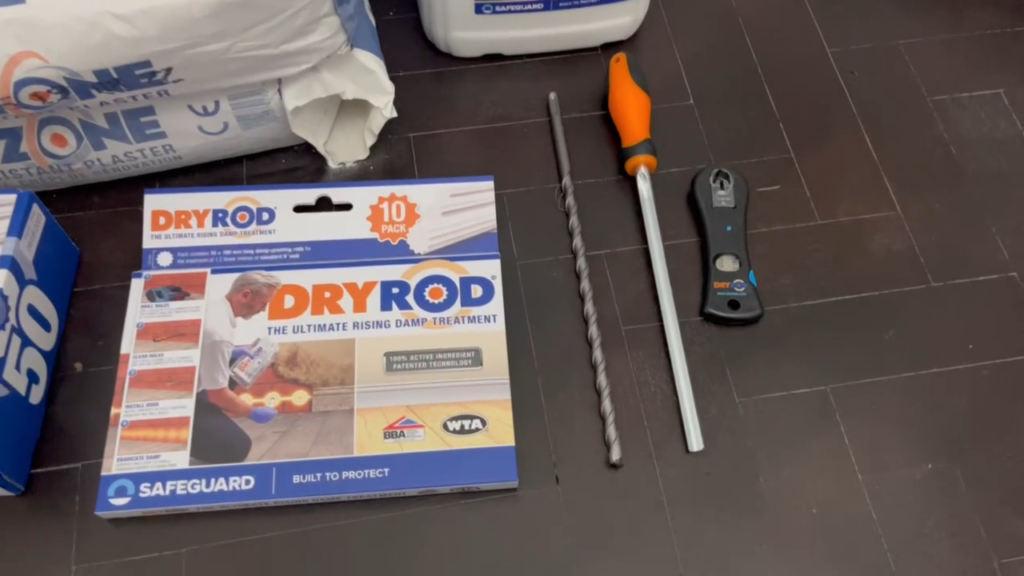
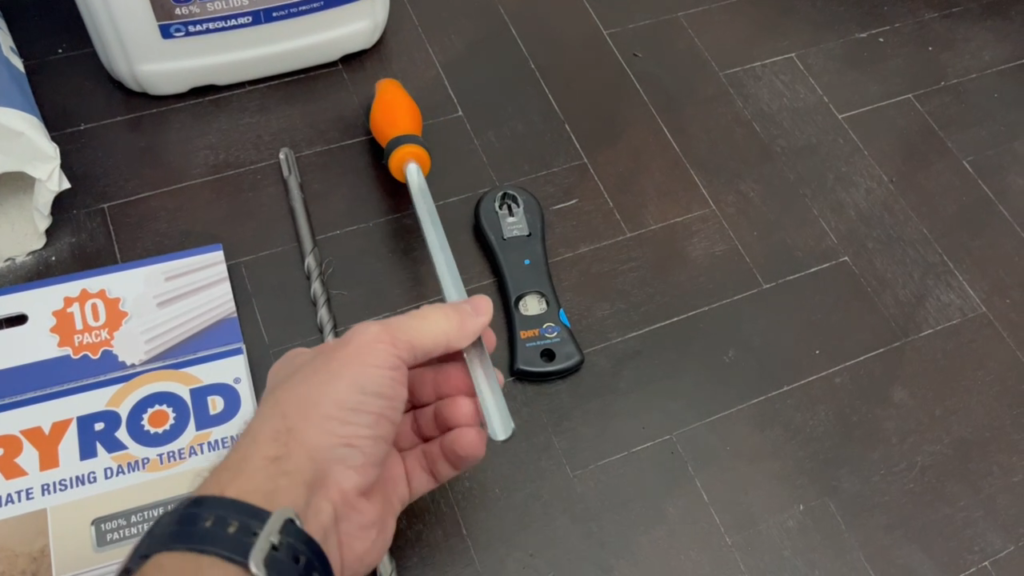
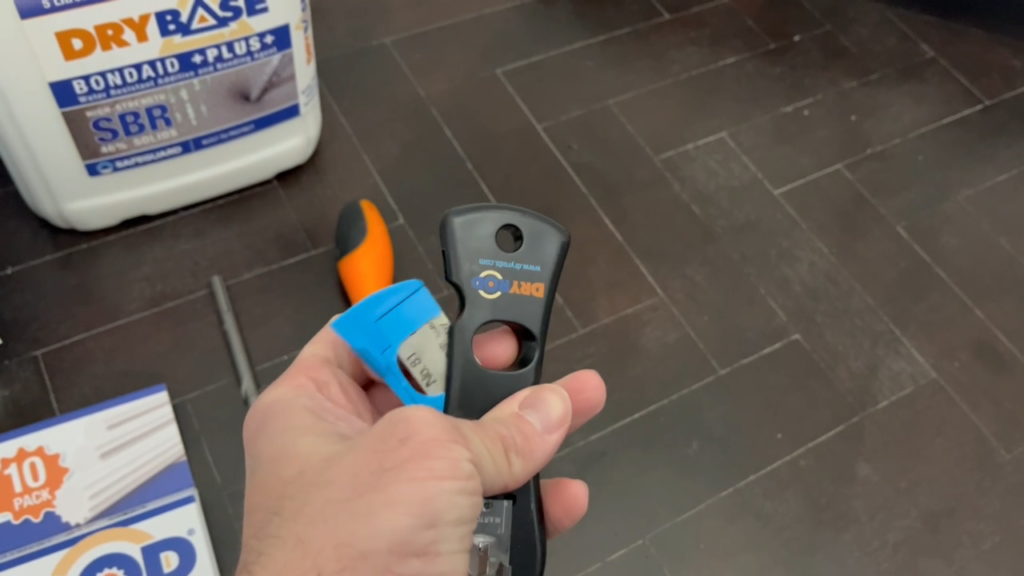
- The fitting kit (12mm sds drill bit, hole clearing tool and rod cutter)
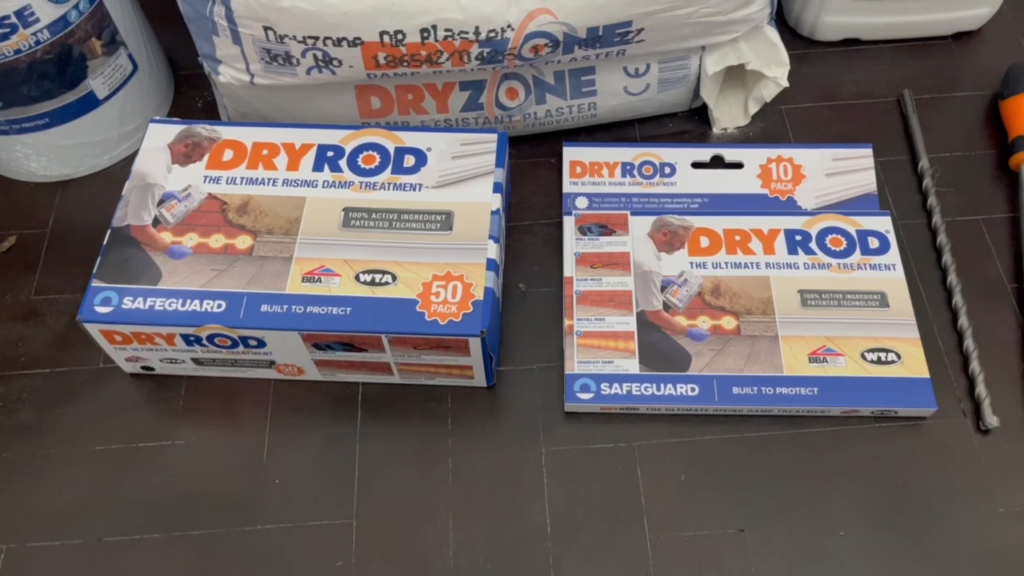
- Dryrods
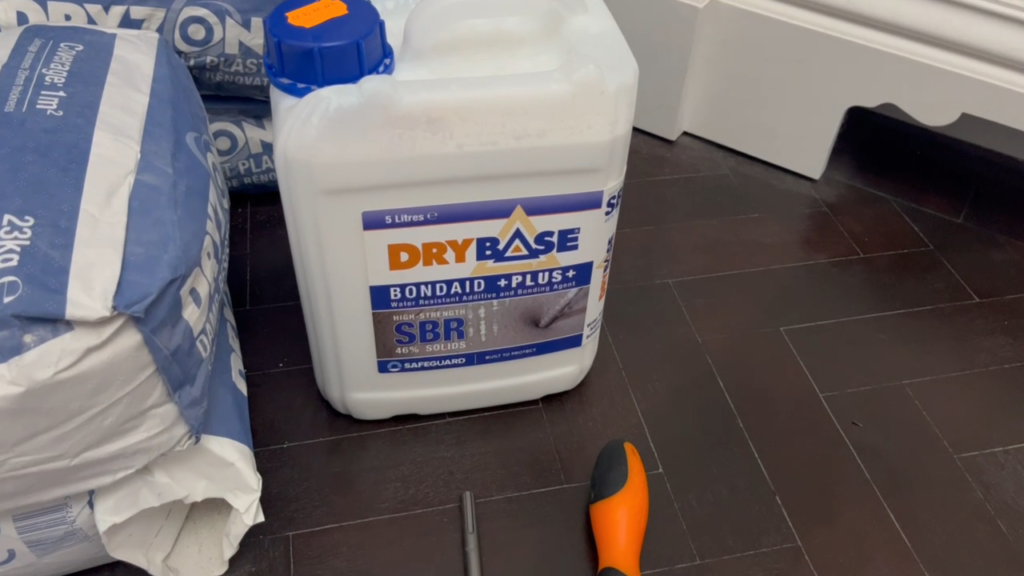
- SBR bonding
- Liquid damp proof course (dpc)
- Damp resistant plaster
All of these can be found on our Amazon affiliate store.
Preparation
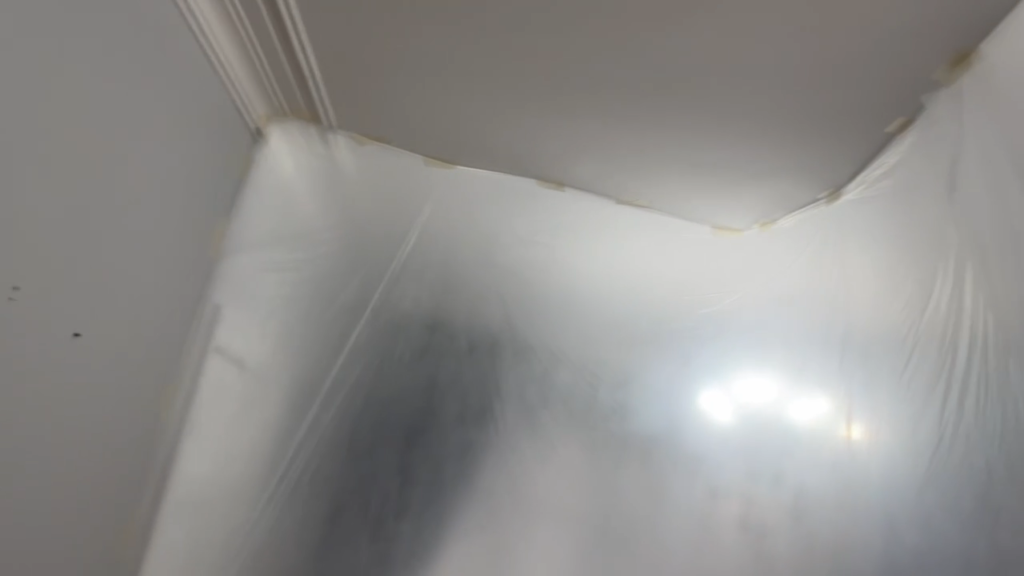
Because we are living in the house whilst we are carrying out this work we try to keep the dust down as much as possible. So we constructed a makeshift tent around the area we are working in. This was just cheap plastic dust sheets and some masking tape. But it did a pretty good job at containing the dust.
PPE
This job is messy and dirty with plenty of dust. So the PPE we used was Trend face respirators, safety glasses, hearing protection and steel toe capped footwear. All of these can be found in our Amazon affiliate store.
Hacking off the old damp plaster
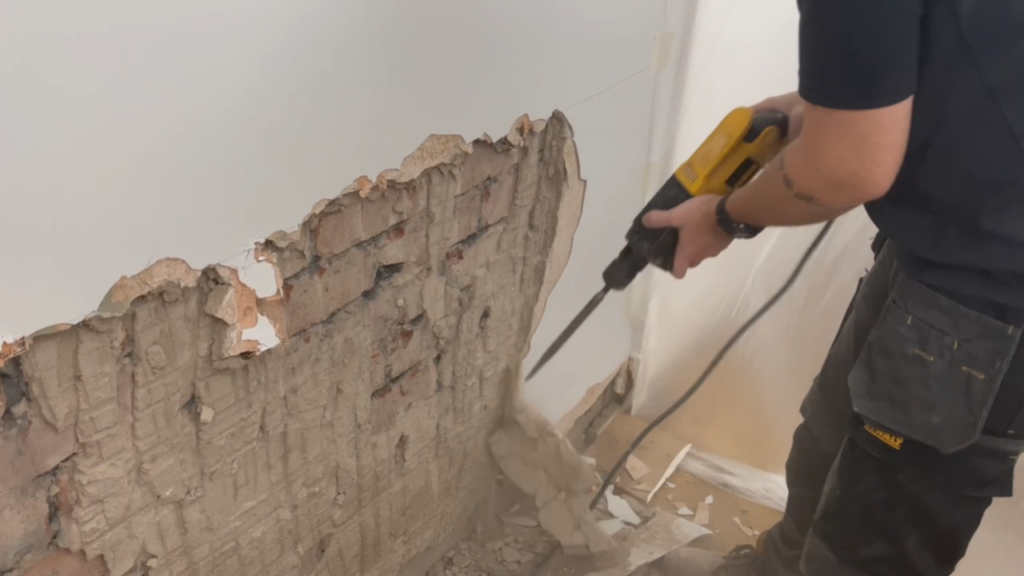
The old damp plaster has got to be removed. It’s not a very nice job and it is very dirty and dusty. But it has to be done.
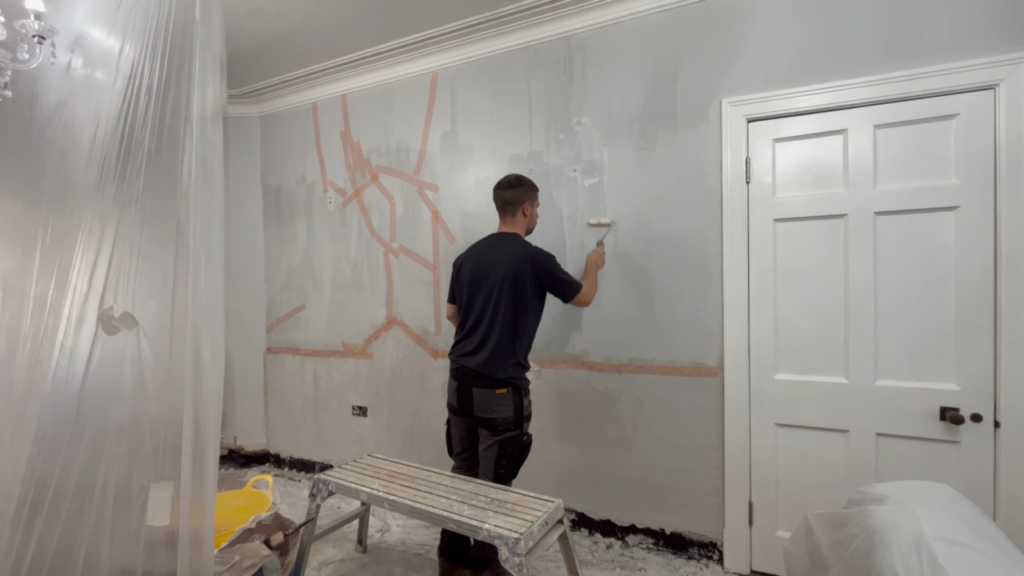
The rising damp leaves a tide mark. From this tide mark it’s recommended to remove the plaster 300mm above it. We drew a quick line across the wall at this height and started hacking off the old plaster below the line with an SDS drill and chisel bit. This is the best tool for the job. It made it so much quicker and easier than if we were to use a hammer and bolster chisel. The old plaster did come away from the bricks quite easily. The wall was back to bare brick within about 20 minutes.
When all the old plaster was off the wall, we gave the bricks a good brushing to remove all the dust and loose material. We then bagged up all the dust and rubble, and disposed of it at the local recycling centre.
Creating a damp proof course
Now that the wall is back to bare brick the mortar lines are clearly visible. When applying the damp proof course from outside the building then the mortar course closest to 150mm from the ground should be used. If applying it from inside the building then the lowest accessible mortar course is to be used.
Now we know where to create the damp proof course we can mark out the wall for the 12mm holes. The holes are spaced 120mm apart from each other. So we put a pencil line every 120mm. This internal wall is a single skin of brick so it is 120mm thick. We set a depth stop on the sds drill to about 100mm so that the drill bit won’t penetrate the other side of the wall. We then drilled a lot of holes.
If the wall is a cavity wall then it will need drilling from both sides to create the damp proof course.
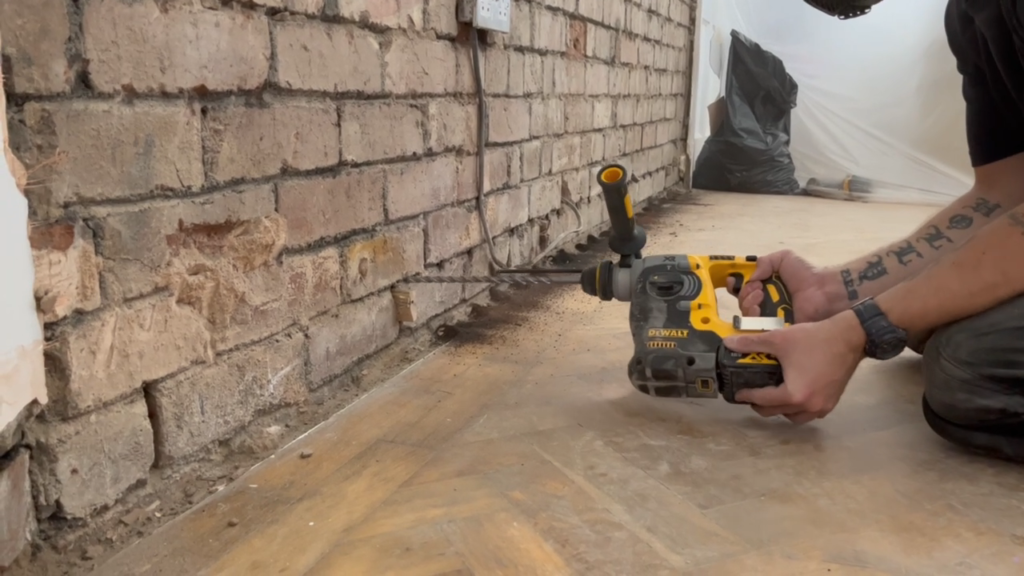
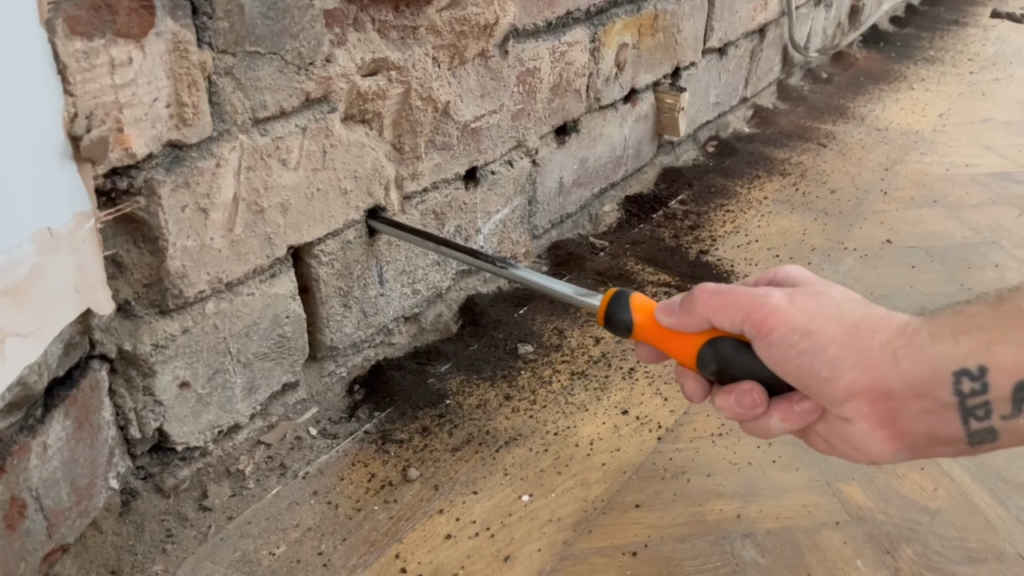
After drilling, the holes still have debris inside them. This needs removing so that we can insert the Dryrods easily. Clearing the holes is easy with this hole clearing tool. The debris that came out of the holes had a very distinct smell of damp, a bit like the smell of wet soil.
Cutting the Dryrods to length
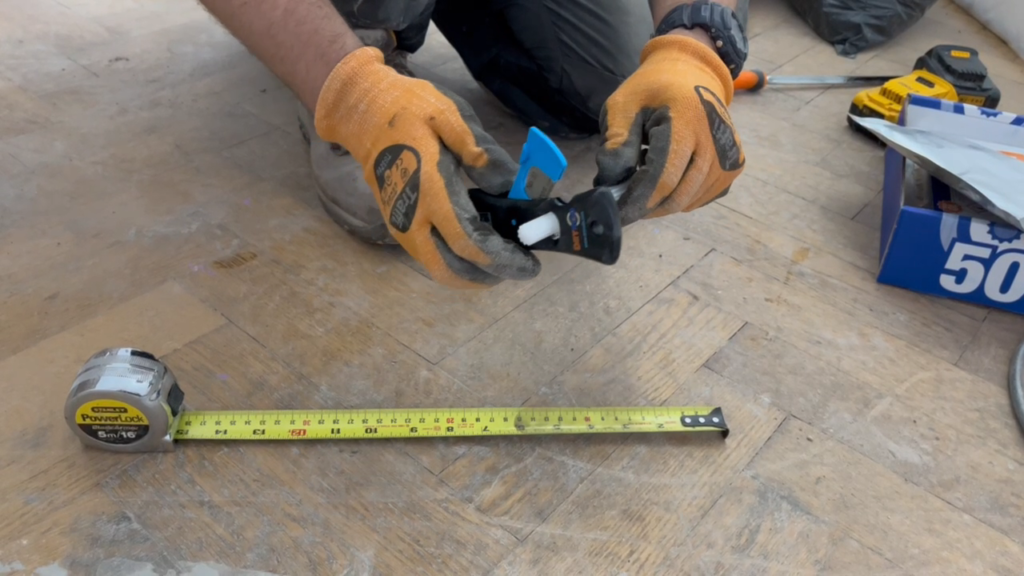
With the holes drilled and clear, it’s now time to cut the Dryrods to length. We took the Dryrods out of the packet and they were actually wet. So it is advisable to wear appropriate gloves.
In the fitting kit there is a special cutter for the rods. It reminds me of a cigar cutter. Using the cutter is easy. Simply pull the blade to one side, insert the rod into the hole to the desired length. 90mm for our wall. Push the blade back into the cutter and the rod is cut cleanly ready to be inserted into the hole. Each rod is 180mm long so we cut 2 usable pieces from each one.
Inserting the Dryrods into the holes
The holes are drilled and cleared out, the rods are cut the length. So we can now insert the rods into the holes.
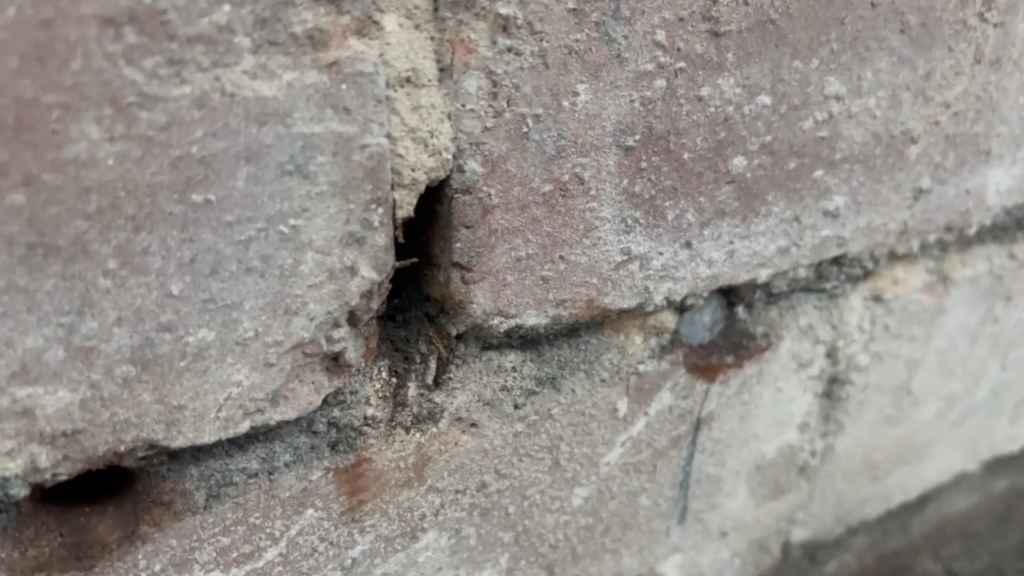
They simply push into the holes. We pushed them in so that they are recessed about 5mm behind the face of the brick. And ensure that they don’t touch the back of the holes.
What do the Dryrods do?
Dryrods contain a water-repellent material which diffuses deeply into the damp masonry, curing to form a highly effective barrier to damp. This results in a damp proof course which stops further rising damp from occurring and helps the wall to dry out.
This process takes about 1 month to form the damp proof course. However this might vary depending on site conditions. Such as saturation of the wall or low ambient temperatures.
Do not seal the holes or re-plaster for at least 6 weeks after creating the chemical damp proof course.
Creating a secondary damp proof course
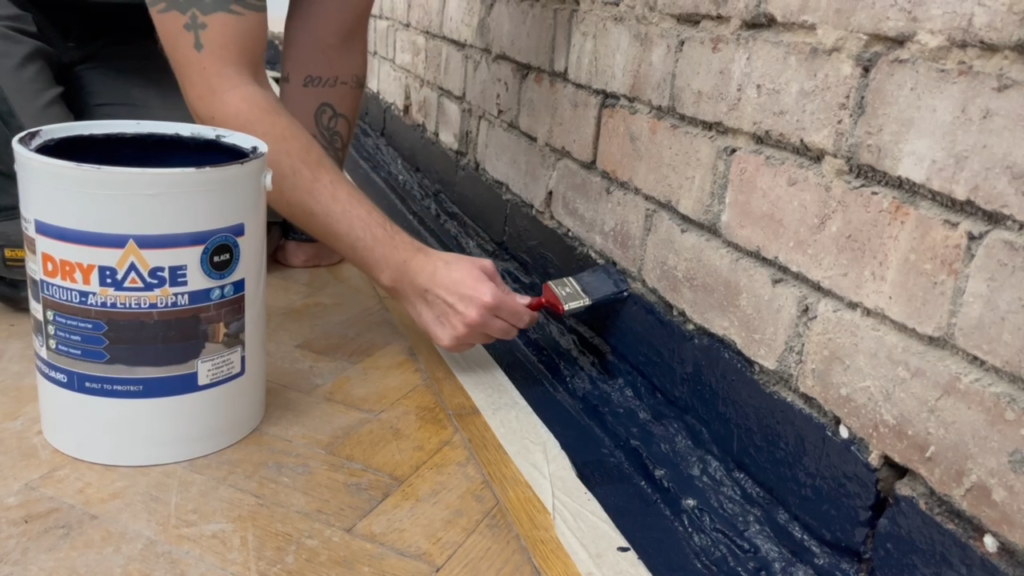
Next we created a secondary damp proof course with Drybase liquid dpm.
The Drybase liquid dpm is like a paint. We stirred the paint very well. To begin with, it started off a bit watery but the more we stirred the thicker it became.
To paint it on we used a cheap disposable 3 inch brush, so we could throw it away after using it.
Apply the liquid dpm to the area between the newly created chemical dpc and the floor.
Before we started applying the paint, we gave the area a good vacuuming to get rid of any dust or debris.
Before painting we sprayed the area with clean water to help the liquid dpm to adhere better. Two coats of the liquid dpm are required. We painted the first coat in one direction, let it become touch dry, after about one hour, then we painted the second coat at right angles to the first. Do not allow the first coat to dry for more than 24 hours before applying the second coat. Do not paint it on too thickly as this could lead to cracking of the dpm.
Bonding coat for the bricks
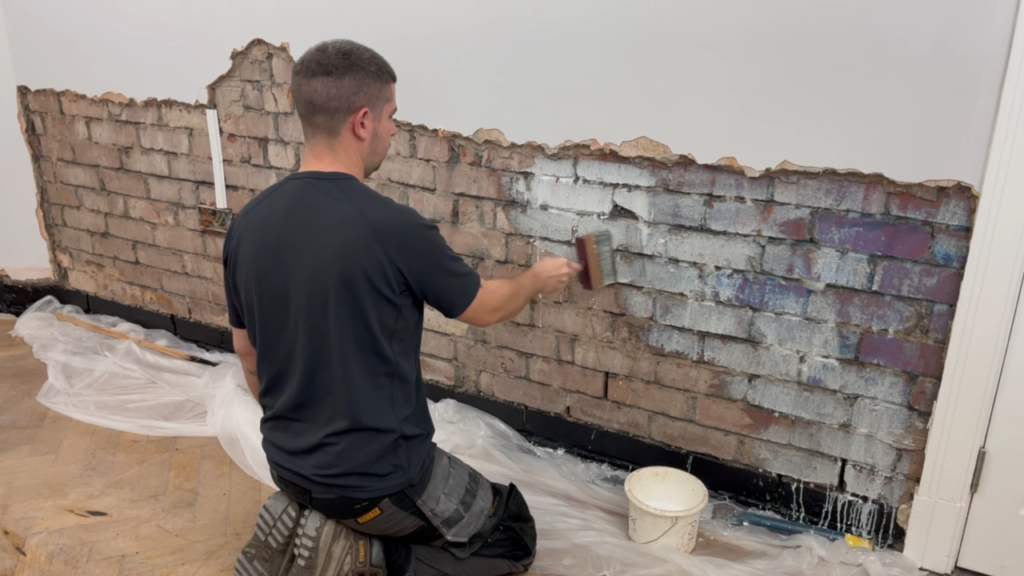
To aid adhesion of the new plaster to the old bricks we coated them in Drybase Bondaid Plus. This is a styrene butadiene rubber latex or SBR for short.
The instructions say to mix 1 part SBR to 2 parts water. We did this in an old milk container and what we don’t use we can store in this container for the next wall.
We used a fence brush to apply the SBR mix. It is very watery so it makes a bit of a mess.
Plastering
This is maybe where you call a professional plasterer. Plastering is a skill and it is not an easy job to do. I do my own plastering. I taught myself how to plaster after watching professionals and asking them lots of questions. And I picked it up really easily and got really good results from the start. I was lucky, I know lots of DIYers who have tried plastering and failed.
So now might be the perfect time to learn how to plaster. Or if you do call in a professional it will still be cheaper than to have a professional come in and do the whole damp proofing process.
The Dryzone damp resistant plaster must be applied whilst the SBR is still tacky.
Mixing the damp resistant plaster
I poured 5 litres of water into a flexi tub and a full bag of Dryzone damp resistant plaster. Then slowly I mixed the plaster with a mixer in my drill. I wore my respirator for this because the plaster is very dusty when pouring and mixing.
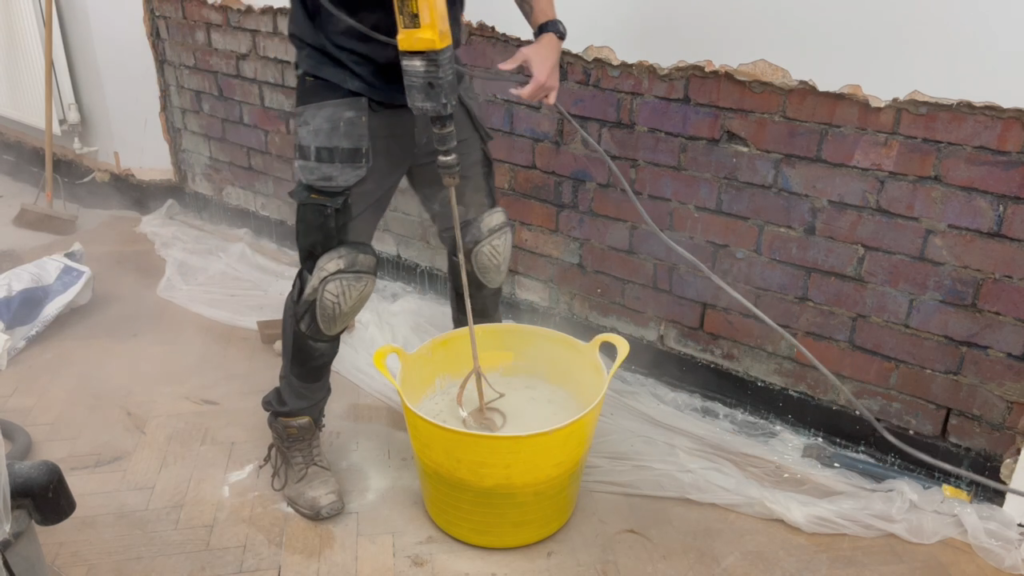
When mixed I found the plaster to be a bit sloppy. So the next bag I mixed I used a bit less water to make a firmer mix.
The working time of the damp resistant plaster is 30-60 minutes depending on temperature and humidity. Because I’m only a DIY plasterer I’m not very fast but I comfortably did the area in that time.
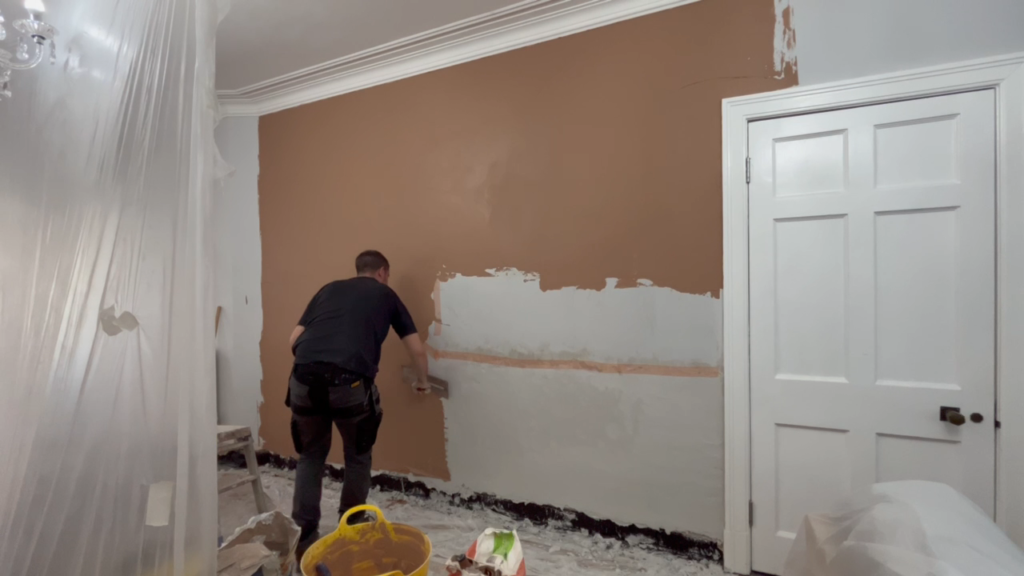
First coat
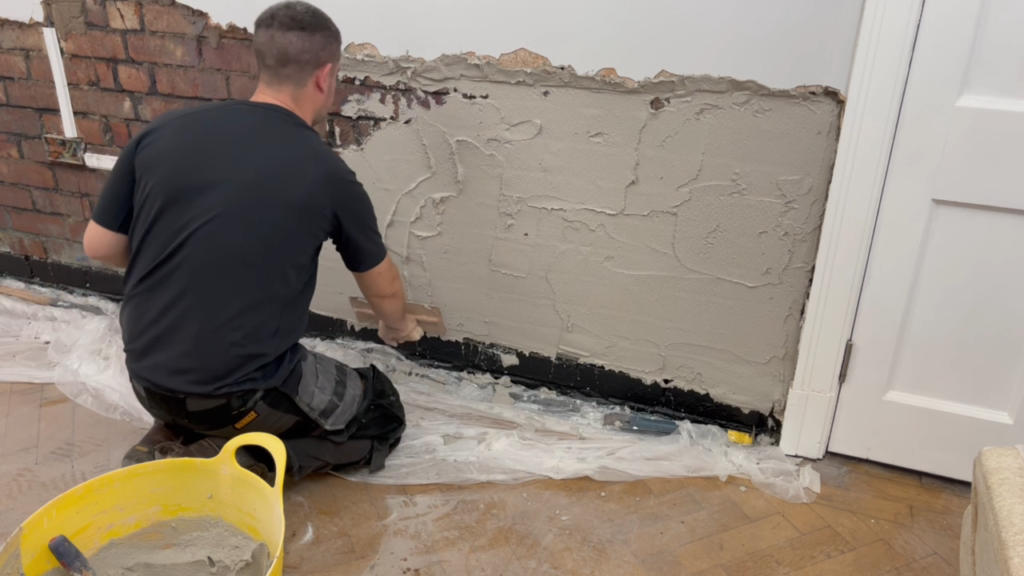
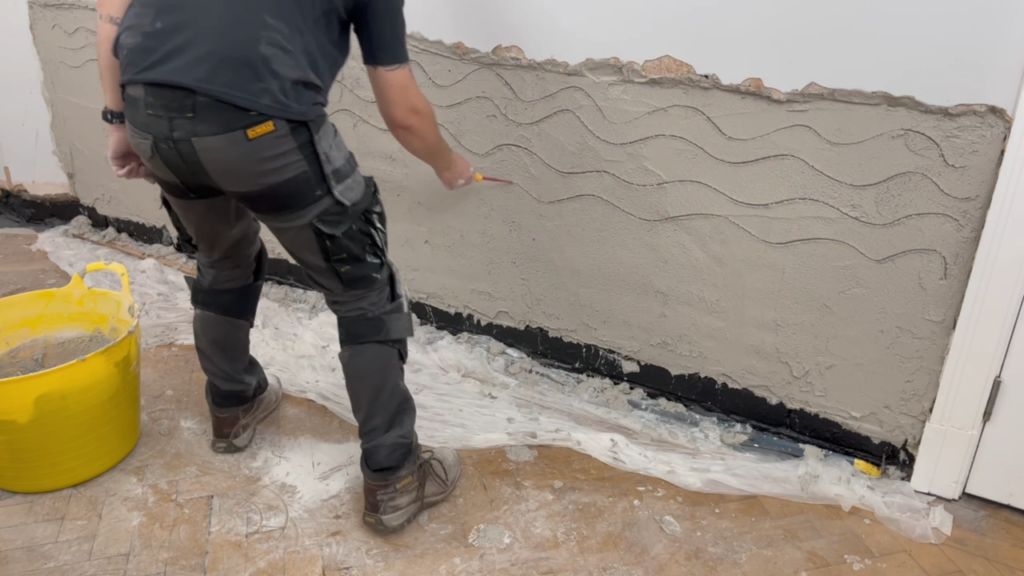
The first coat I applied was approximately 5-10mm thick. I spread it on the wall with an old trowel. I didn’t use a good trowel because it would be scrapping on the bricks possibly damaging the edge.
The first coat acts as an anchoring layer and I lightly scratched the surface to provide a key for the next coat to grab onto. I didn’t have a scratching tool so I just used a small screwdriver.
After a few hours this rough coat will be ready for a second coat. However this is dependent on the ambient temperature and humidity.
Second coat
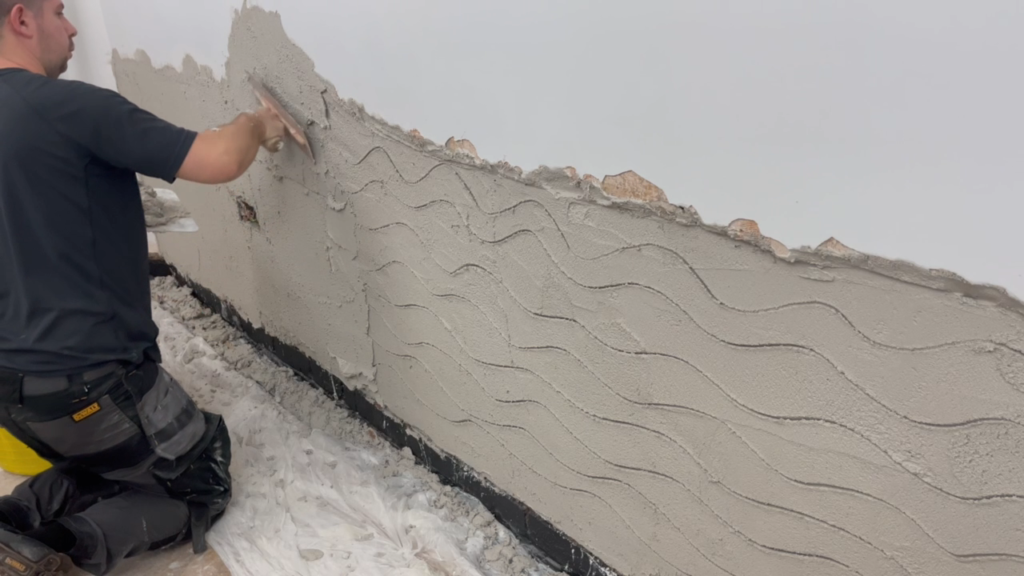
The second coat of plaster I applied was approximately 10-15mm thick. Combined the two layers of plaster are about 20-25mm thick. To achieve maximum moisture salt resistance the total plaster thickness of the two layers must be at least 20mm.
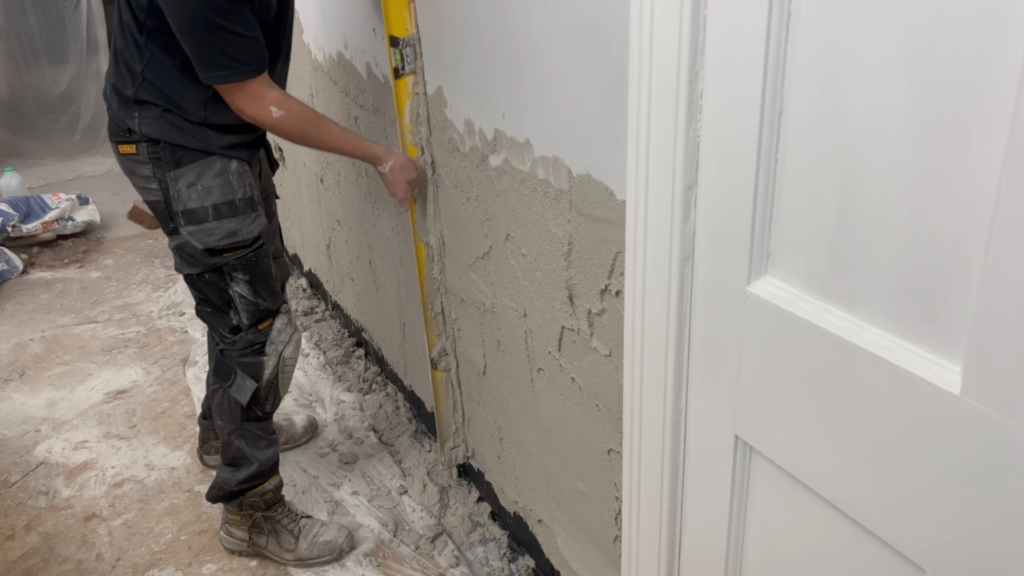
I trowelled this coat on a bit thicker than was necessary. I wanted to build the plaster out a little bit further than the original plaster on the top of the wall. This is because I used a 6 foot spirit level as a straight edge to level the plaster to the existing using the original plaster as a guide. I used a sawing action to almost cut the excess plaster away, then trying to get the excess back into the tub. Most of it however landed on the floor. Luckily I had put a plastic dust sheet down to make cleaning up easier.
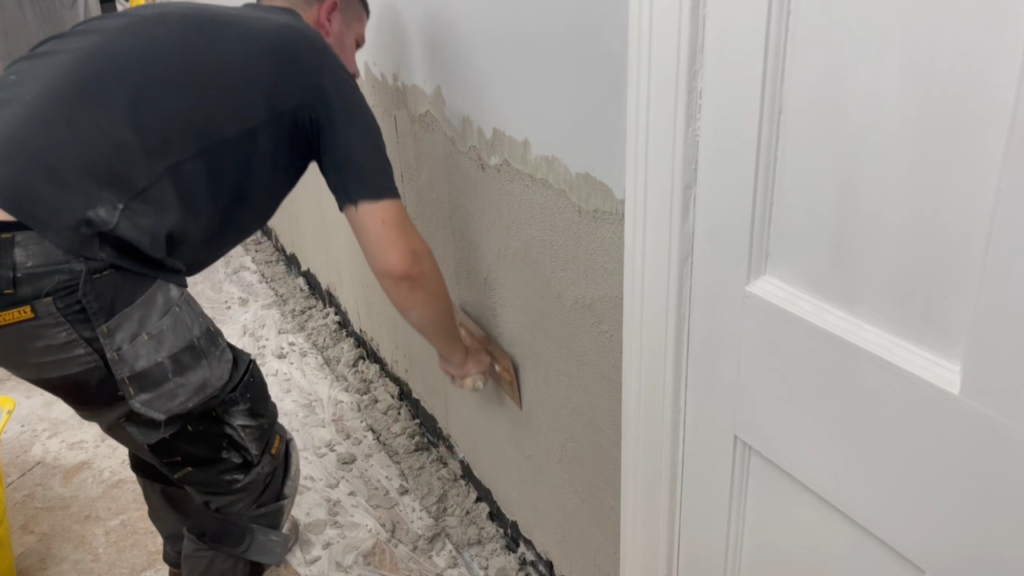
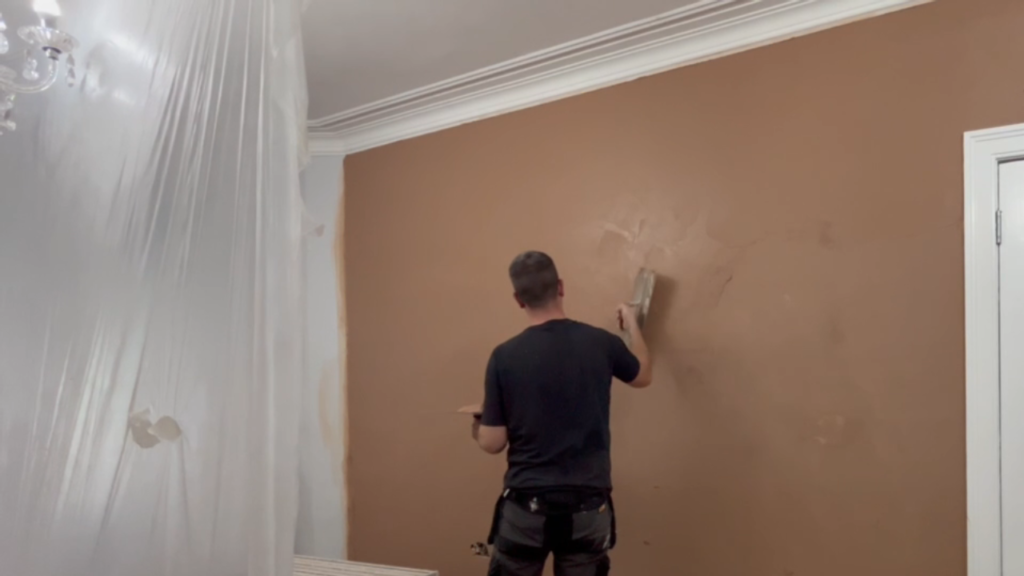
The final step. I quickly smoothed the plaster with the trowel to get rid of the lines left by the level.
The third and fourth coat of plaster
The damp resistant plaster is an under-coat plaster. It is too rough to be a finish plaster. So after letting the damp resistant plaster dry out for 24 hours. I used a multi finish plaster and gave the wall two more coats.
Before I applied the finish coats of plaster, I applied scrim tape over the cracks and a coat of the SBR bonding to the original plaster. This is to help the new plaster adhere to the old plaster.
The first coat of the multi finish I spread as thinly as I could, the coat was no more than 1-2mm thick. When the first coat had set enough I applied the second coat of multi finish. Again I spread the plaster as thinly as possible 1-2mm thick. So the combined thickness of the two coats of multi finish is only 2-3mm thick. And as always with plaster I polished it up to a good standard.
Decoration
I left the plaster to dry out for 14 days before I started to paint the wall.
I used a non vinyl based emulsion paint so the wall can breathe.
First and second coats are mist coats. I watered down emulsion paint to a ratio of about 50/50 for the mist coats. And I left a few hours between coats.
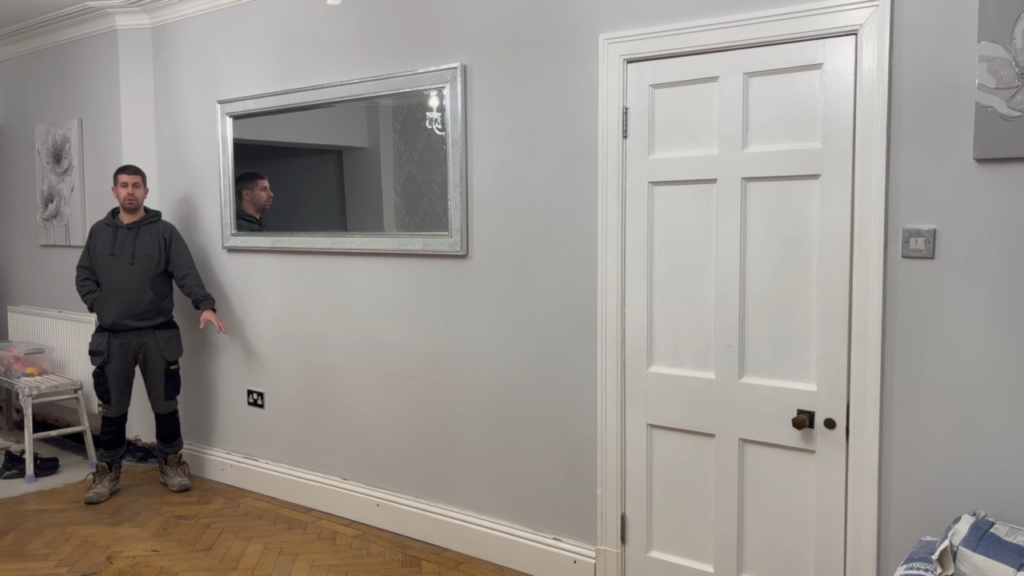
I applied a further two coats of matt emulsion coloured paint and JOB DONE!
That’s how to stop rising damp the DIY way.
Thanks for reading and watching
I hope this article helps you with your project. If it has then please leave me a comment and let me know how you get on. Be sure to watch my Youtube video that accompanies this article and remember to Like, share and subscribe to help the channel grow. You can follow me and our house on Facebook and Instagram for the latest projects on our renovation or my latest DIY tips. Links are at the top of the page. Or you can contact me using the link below. http://spendtimesavemoney.com/index.php/contact/
Making videos and blogs to help others improve their DIY skills takes a lot of time and can also cost a lot of money. If you would like to make a donation to help the channel and website grow, develop and improve it would be greatly appreciated and put to good use. Just follow the Paypal link below. Thank you in advance. https://www.paypal.me/spendtimesavemoney
Or you may wish to support us via patreon https://www.patreon.com/Spend_time_save_money_DIY