
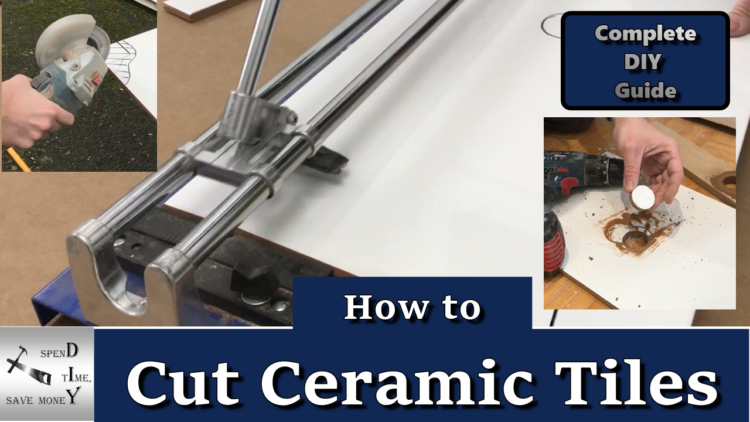
This is a complete DIY guide of how to cut ceramic tiles

The video. How to cut ceramic tiles
There is also an easy to follow Youtube video on my channel to support this article. ‘How to cut ceramic tiles.’ Please feel free to check it out. I would appreciate you giving it a like and subscribing to the channel. Thanks.
First time?
Cutting tiles for the first time can seem a bit daunting, tricky or even a bit dangerous.
But by following this ‘How to’ guide and getting the correct tools you’ll be able to do it no problem. And stay safe too.
Different cuts
In this Guide I will show you how to do 5 different types of cut of a ceramic tile.
These are.
- Straight cut along the length
- Cross cut
- Cutting a small slither off
- Cutting a hole for a pipe
- Cutting a shape out

Straight cut of a ceramic tile
For the long straight cut I use the Vitrex 600 mm Manual Flat Bed Tile Cutter. All the tools I use in this project can be found in my Amazon affiliate store.
This Tile cutter is a budget version. But I have been using it for years and it has always served me very well.
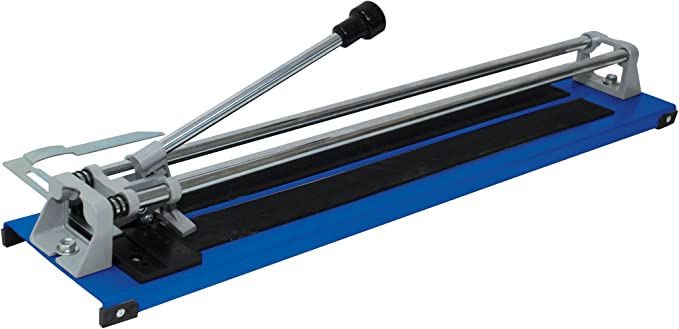
This cutter works by the score and snap method.
The arm at the top is attached to a small cutting wheel and also a small bottom arm or the breaker. A little tip, I use a small piece of duct tape over the breaker just so there is no risk of it marking the tile.
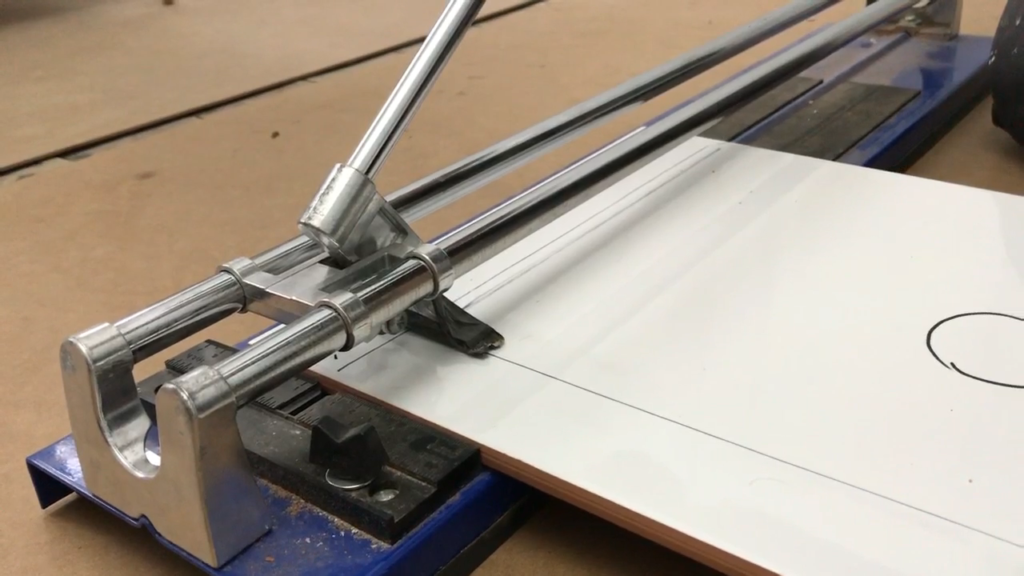
When the arm is pulled back the tile can be inserted under the guide bars. There is a raised centre line on the tile cutter so the cut marks can be lined up with this. Before cutting I like to double check I am cutting in the right place by offering up the wheel to see if it will be going along my line.
In one smooth action guide the cutting wheel across the surface of the tile. You should hear a crackling sound. Do NOT go back over this score, it will blunt the wheel.
Now that the tile is scored, without moving the tile bring the breaker over the tile about 25mm-50mm from the edge and with firm downward pressure the tile should break cleanly at the score line. This method is used to cut the tile across it’s length or width.
Hole cut in ceramic tiles
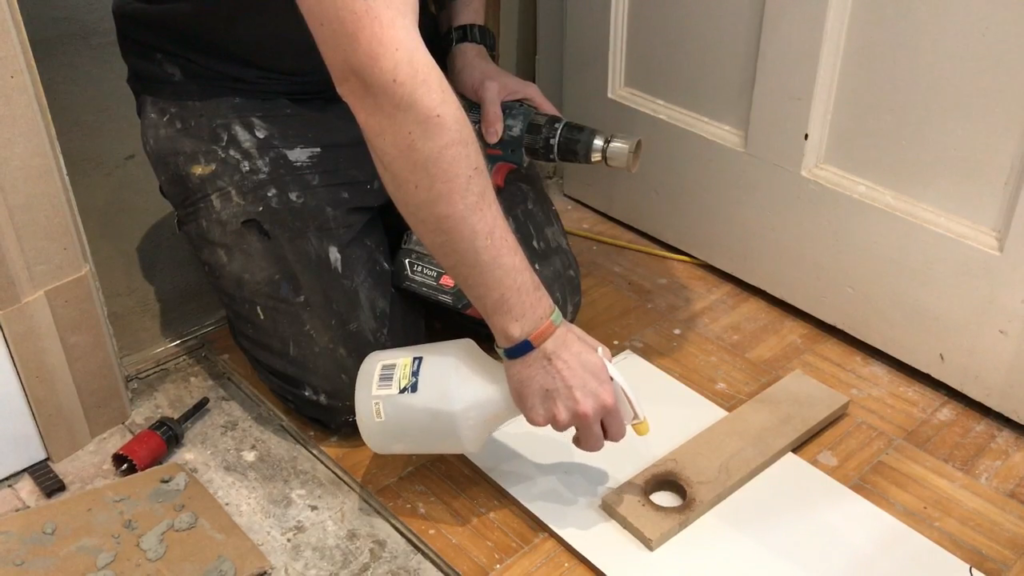
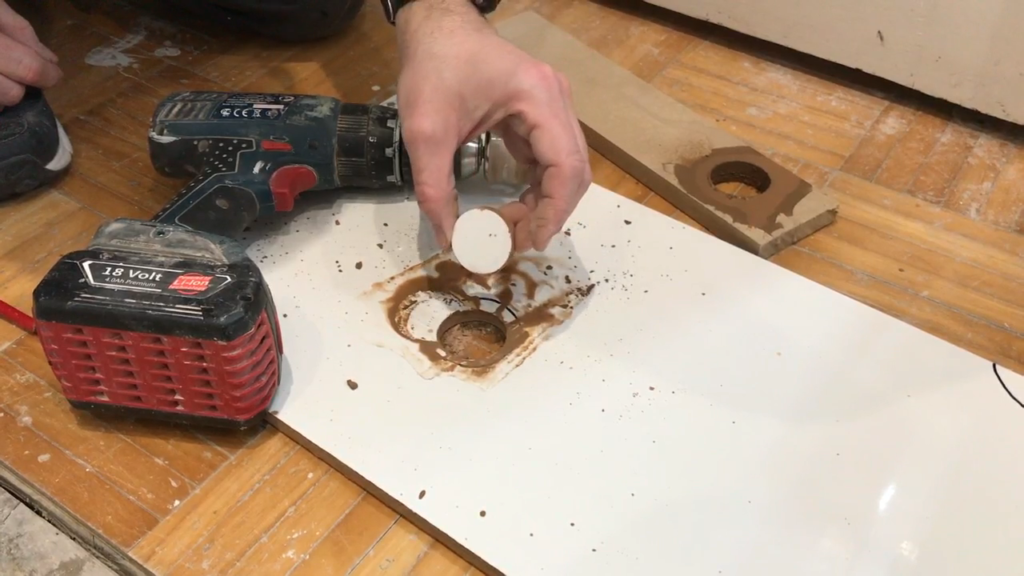
Often when tiling bathrooms there will be pipes to cut around. Pipes in a bathroom are usually 15mm so I use an 18mm diamond holesaw to give myself some wiggle room. Occasionally there might be a 22mm pipe and then I use a 25mm diamond holesaw.
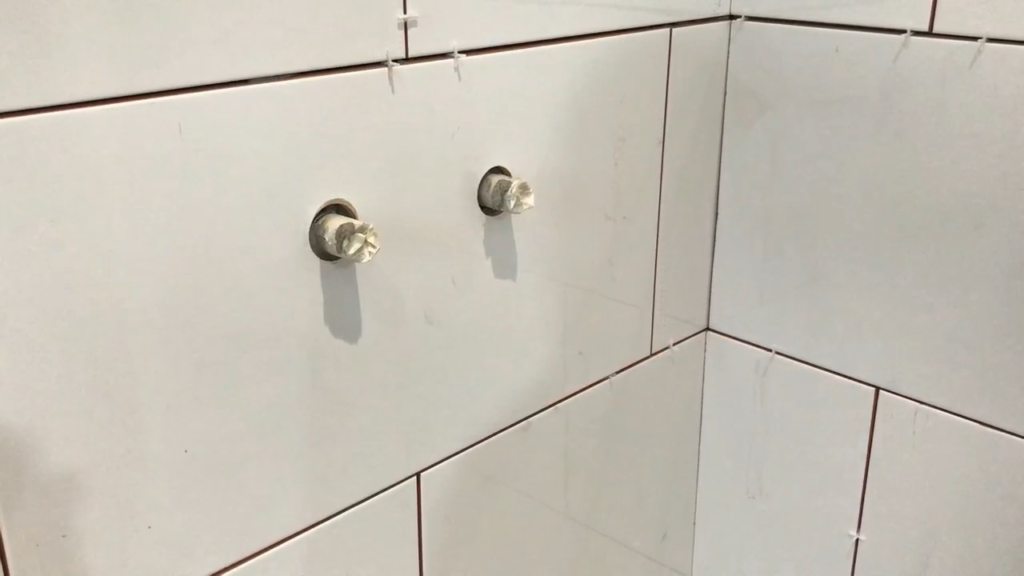
Accurately measure and mark with a sharpie where the hole is to be positioned.
Diamond holesaws don’t have a pilot drill bit in the center like hss holesaws do. So sometimes they have a tendency to slip. The way I get around this and get an accurate hole is to first cut a hole in a scrap piece of board with a hss holesaw the same size as the diamond holesaw. This scrap of board can be positioned on the tile where the hole needs to be. A little spray of water in the hole will make cutting the hole in the tile easier. It will also prolong the life of the diamond holesaw. However the water will end up as sludge and make a bit of mess. Now you can start cutting the hole with a diamond holesaw keeping the drill at a slow speed and a steady pace.

Cutting a slither off a ceramic tile
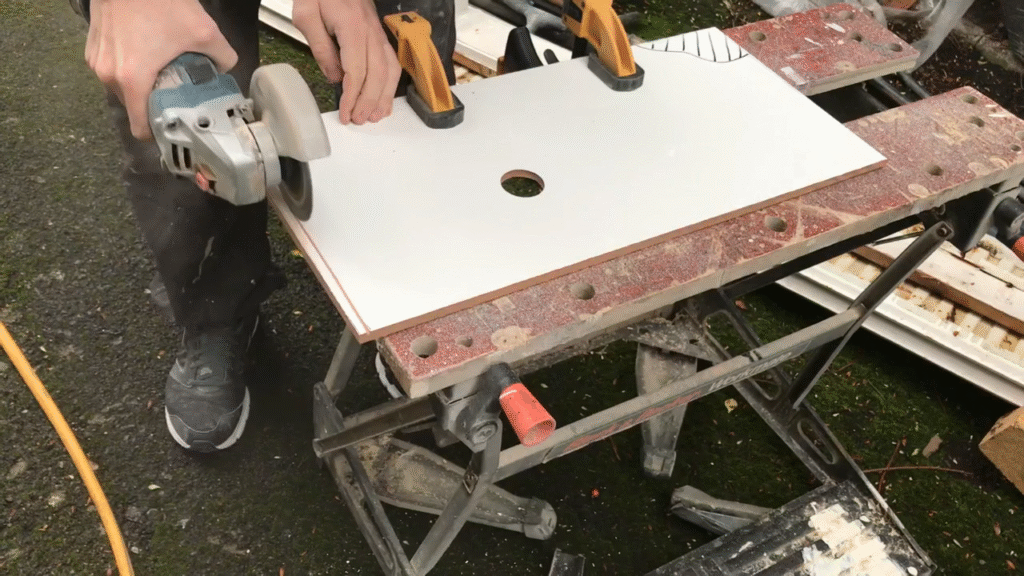
There will be times when a tile is just a little bit too big. This is frustrating because a tile cutter can’t cut small bits off a tile. The method I use to cut a small amount off a tile is using an angle grinder with a diamond tipped blade.
Mark the line using a sharpie so the line is clearly visible even when it gets dusty. I clamp the tile down to a workmate bench so it won’t move and I have two hands free to use the angle grinder.
When using an angle grinder it is very important to wear eye and ear protection. Also a respirator or a dust mask at least are essential.



To cut the slither off the edge I run the grinder along the sharpie line with several light passes. Going back and forth until the tile is cut all the way through. If I were to try to cut through too much material at once I would risk chipping the tile and straying from the line.
Cutting a shape in a ceramic tile
Often a shaped cut is necessary when tiling. This could be around an object like a toilet or wash hand basin. Shapes can’t be cut with a tile cutter so I use an angle grinder with a diamond tipped blade. Again when using an angle grinder it is important to wear the correct PPE.
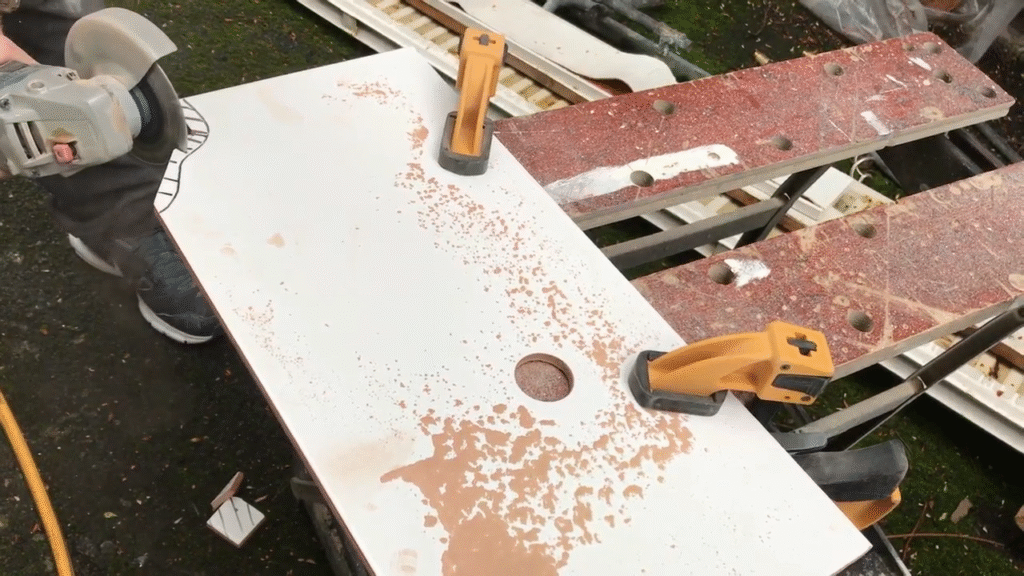
I first draw the shape on to the tile with a sharpie. I try to cut out the majority of the material with straight cuts.

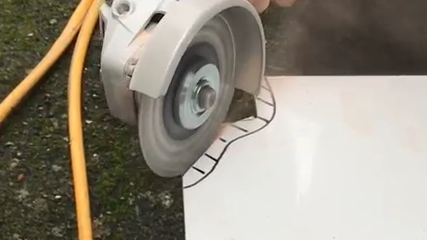
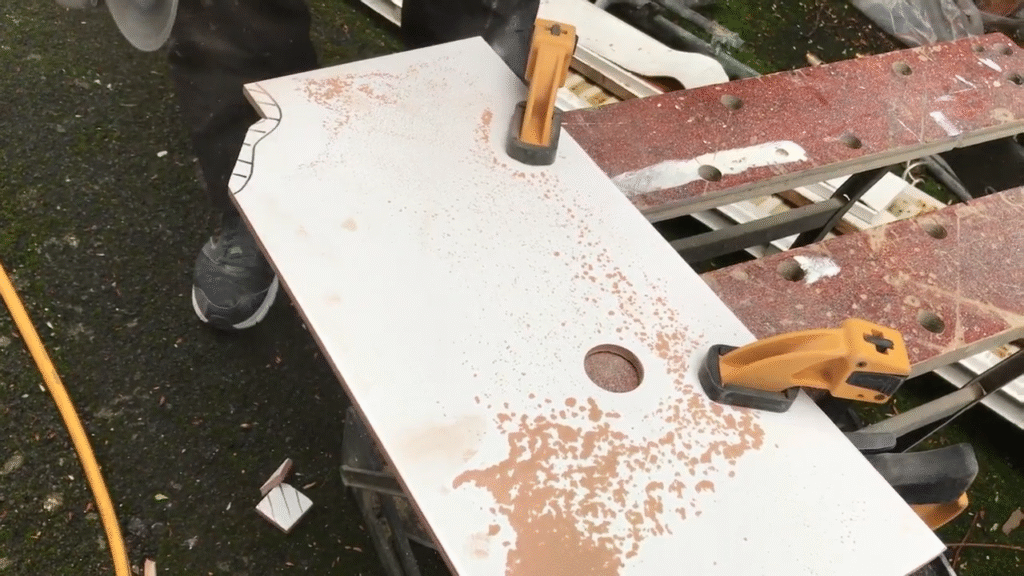
With the bulk of the material taken out I cut relief cuts straight up to the edge of the shape. Before nibbling away with the tip of the blade to the sharpie line. I do this in light passes to avoid chipping the tile surface.


Thanks for reading and watching
I hope this article helps you with your project. If it has then please leave me a comment and let me know how you get on. Be sure to watch my Youtube video that accompanies this article and remember to Like, share and subscribe to help the channel grow. You can follow me and our house on Facebook and Instagram for the latest projects on our renovation or my latest DIY tips. Links are at the top of the page. Or you can contact me using the link below. http://spendtimesavemoney.com/index.php/contact/
Making videos and blogs to help others improve their DIY skills takes a lot of time and can also cost a lot of money. If you would like to make a donation to help the channel and website grow, develop and improve it would be greatly appreciated and put to good use. Just follow the Paypal link below. Thank you in advance. https://www.paypal.me/spendtimesavemoney
Or you may wish to support us via patreon https://www.patreon.com/Spend_time_save_money_DIY