

Plaster boarding walls with expanding foam is the way forward. It is cheaper, easier and cleaner than conventional ‘Dot N Dab’ methods.
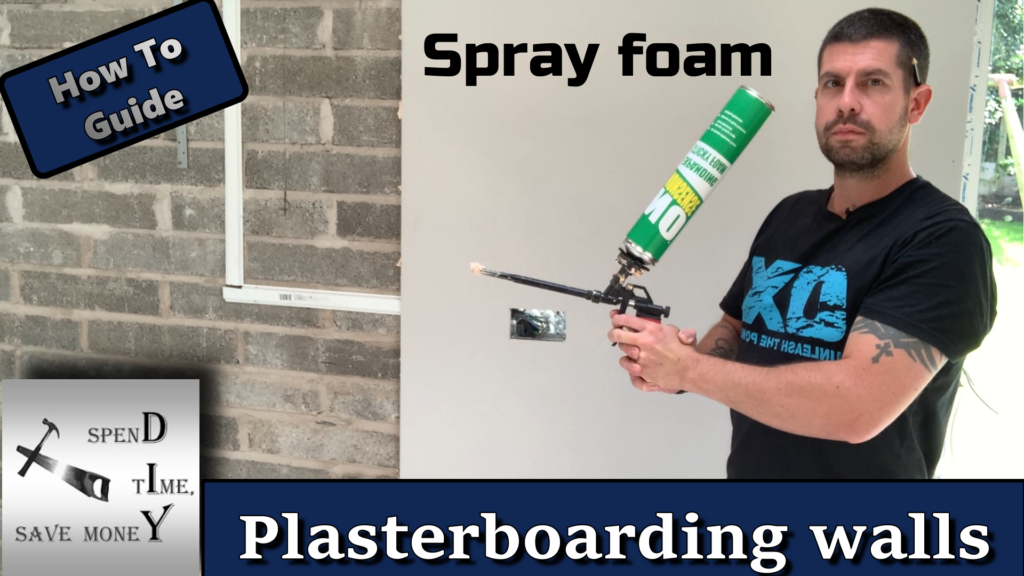
The Video. How to plaster board walls, the easy way with foam.
There is also an easy to follow Youtube video on my channel to support this article. Please feel free to check it out. I would appreciate you giving it a thumbs up and subscribing to the channel. Thanks.
Traditional ‘Dot N Dab’
In the past I have plaster boarded many walls with plaster board adhesive. Otherwise known as ‘Dot N Dab’. It is a brilliant method for fixing plaster board or drywall as they call it over in America to brick or block walls.
But I have never enjoyed using it. It has to be mixed up in a tub or bucket with water like you would with plaster. So getting the right consistency can be difficult. Plaster board adhesive is sold in 25kg bags so for some it is heavy and it takes up a fair bit of space to store it. Mixing it up is dusty and dirty. And the final reason I don’t like it is it sticks to everything like sh*t to a shovel. Unless you clean off your tools and tubs straight away, it is a nightmare to clean off plasterboard adhesive.
Another way
When I heard about another way to plaster board a wall I was over the moon.
A plasterer friend of mine mentioned about it to me when I needed to board some small bits of wall on my landing. It wasn’t worth buying a full bag of plaster board adhesive and making a mess mixing it up. So he suggested the new method he’d heard about with polyurethane foam adhesive. Or sticky foam.
Plaster boarding walls with expanding foam?
Polyurethane foam is being used more and more in the building industry as it is becoming more accepted for it’s brilliant qualities.
I tried the foam on some small bits of plaster board and it worked perfectly. These pieces have been up, plastered and painted now for well over a year and so far so good.
Here is a link to a reel on Instagram I made when I put the first piece of plaster board up with it.


Will Foam fix a full 8 x 4 sheet of plaster board?
So sticking small bits of plaster board to the wall was easy to do with the foam but could it stick a full 8ft x 4ft sheet of plaster board to a wall?
Well I had the perfect opportunity to find out. I built an extension on the back of our house that was 4m wide by 12m long so I had plenty of plaster boarding to find out.
I did the whole job by myself as you can see in the video above. It only took me a few days to do at a relaxed pace and using the foam I found it really easy to do.

Preparation to plaster board with foam
Preparation is key. You don’t get much open time with the foam and once it’s stuck to the wall it’s very difficult to move it. So make sure your ready before you foam up the board.
When plaster boarding I always keep the boards up off the floor a couple of inches. This is to prevent any moisture in the concrete floor soaking up into the plaster board.
I usually use an off cut of 3 x 2 timber on the floor to sit the board on and leave it there until the adhesive has fully cured.

It is also essential to isolate any electrics where you are plaster boarding. If you are unsure about electrics please consult a qualified electrician. Because this is a new build extension I knew exactly which breakers to isolate. I lock off the breakers and put signs on the consumer unit to tell people that there is work being carried out on the electrics.
And I also put electrical capping over all the cables to stop the foam adhesive sticking to them.


Now that the electrics are safe I can cut the plaster board to size and cut out for any back boxes.
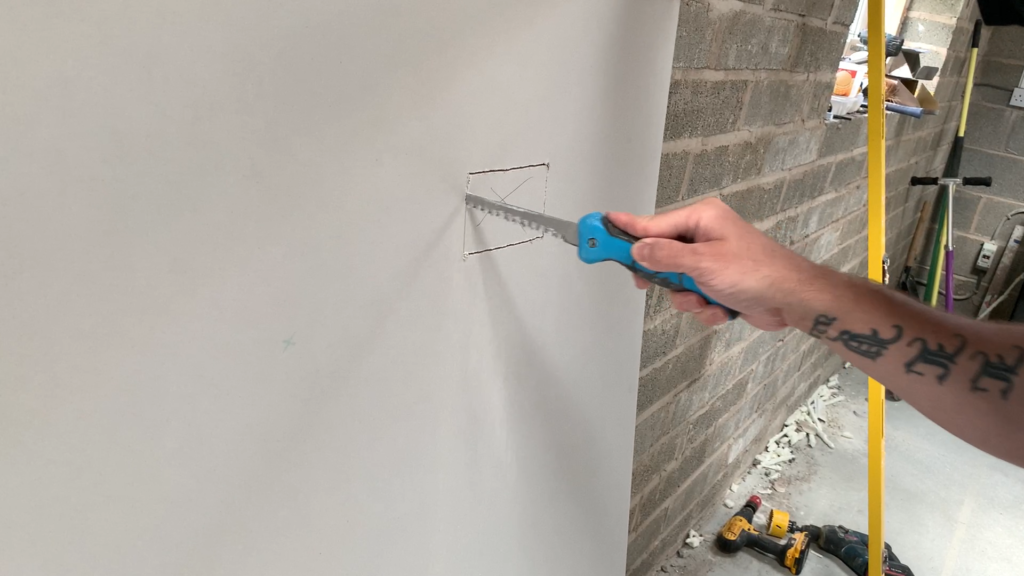
And the final bit of preparation to do is to dampen down the walls slightly. The foam adhesive cures better in the presence of moisture. So I give the wall a quick spray with water from a garden sprayer.
If the walls are old and not as sound as these breeze blocks, a coat of pva adhesive will be required to seal the surface before over boarding.

Applying the spray foam adhesive
It is advisable to wear disposable gloves when using spray foam adhesive. When it gets on your hands, it can take up to a week to get the stuff off.
The spray foam adhesive is supplied in a convenient can and is applied with a standard foam gun. The label says it sticks up to 5 plaster boards. In reality it’s more like 3-4.
If possible, it’s better to have the board lying down when applying the adhesive. If the foam is applied when the board is vertical, it can have a tendency to roll off sometimes.
Before applying the adhesive the can needs shaking for 30 seconds to a minute.
I apply the foam all round the edges. And around any cut outs. This is to make sure the board is well sealed to the wall. I then fill in the middle with beads of about 30mm every 6-8 inches. See image below.

The instructions say to leave the foam for a couple of minutes before putting the plaster board on the wall. But don’t leave it too long or the adhesive won’t stick.
Putting the plaster board on the wall
Once the foam is tacky it’s ready to stick to the wall. I place the bottom of the board onto the 3 x 2 timber first, keeping the rest of the board away from the wall. This is so I can get the plaster board exactly where it needs to be.
When I have the plasterboard lined up, I push it against the wall making sure I get good contact with the adhesive. I use a 1800mm spirit level to make sure everything is plumb.
If the board wants to spring away from the wall then a few plaster board screws into wall plugs might be necessary. Or you can put pressure on the area for a few minutes.


What will it stick to?
When plaster boarding there can be several different materials to adhere to. In my extension walls I have, concrete block, plastic capping, steel rsj’s and steel lintels. The foam adhered to them all very well. The instructions list what the foam will stick to. I think nearly every building material is listed.
How long before it can be plastered?
Traditional plaster board adhesive takes a while to cure and fully harden. About 2-4 hours. So I used to have to wait at least until the next day to plaster.
Well with the foam adhesive, according to the instructions, it is fine to plaster the boards after only 1 hour. So no more waiting to plaster.
Top tip
So my top tip with foam adhesive is, if there is a slight hollow behind the plaster board or a bit of movement. Even if the walls have been dot & dabbed years ago then this tip still works. Wherever the hollow or movement is, just drill a 10mm hole and squirt in some more foam. After an hour it will be solid.
What will I use in the future? Foam or dot & dab?
The honest answer is both. Foam adhesive is brilliant and very user friendly. But there will always be a use for traditional dot & dab adhesive.
Thanks for reading and watching
I hope this article helps you with your project. If it has then please leave me a comment and let me know how you get on. Be sure to watch my Youtube video that accompanies this article and remember to Like, share and subscribe to help the channel grow. You can follow me and our house on Facebook and Instagram for the latest projects on our renovation or my latest DIY tips. Links are at the top of the page. Or you can contact me using the link below. http://spendtimesavemoney.com/index.php/contact/
Making videos and blogs to help others improve their DIY skills takes a lot of time and can also cost a lot of money. If you would like to make a donation to help the channel and website grow, develop and improve it would be greatly appreciated and put to good use. Just follow the Paypal link below. Thank you in advance. https://www.paypal.me/spendtimesavemoney
Or you may wish to support us via patreon https://www.patreon.com/Spend_time_save_money_DIY