

Conservatories make great extra living space in a home. But they can be too hot in summer and too cold in winter. By insulating a conservatory roof they can be comfortable all year round.

We moved into this house in February 2017. It is a project house. It has masses of potential but it had been very neglected for a long time. There was and still is a huge amount of work to be done and a lot of money needed spending on it.
The problem
Anyway the house has this conservatory. It was on our list of requirements when we were looking for a new house. However this conservatory is probably 20-25 years old. It had a few minor issues that were easily fixed. But the main problem is, it is fully open to the kitchen. Now this makes a lovely feature but it’s a nightmare being too hot in summer and too cold in winter. With no way to shut it off.

The conservatory has a poly carbonate roof. So as you can imagine in February when we moved in, it was bloody freezing.
It’s got radiators on either side but the heat was just going literally through the roof.
When I asked the previous owners what they did about the cold, they said they had an electric fire in there as well.
Heating bills literally going through the roof
Now I’m a person who hates to waste money. And money wasted on expensive heating bills is not what I wanted to be doing. Especially since we were facing huge costs for the renovation of the rest of the house.
Not long after moving in a free magazine full of adverts for local companies was posted through the door. I had a quick flick through it and stumbled across a company that insulated conservatory roofs. (Yes it’s roofs not rooves, I looked it up)!
Since I’d never owned a conservatory before I didn’t even know insulating a conservatory roof could be done. And it had never crossed my mind before.
We couldn’t keep throwing money away in heating bills, so we decided to get this company in to give us a quote.
The salesman
The salesman turned up on time, all suited and booted with his laptop looking very professional. He was giving us his sales pitch and trying to get us on board. I then started asking questions about how they go about insulating a conservatory roof.
For a change I wasn’t in my work clothes so this salesman had no idea I was a tradesman and a keen DIYer. He got out his laptop and started showing us past projects they had completed. They looked brilliant and we were sold on the idea. He then showed us pictures of how they go about insulating conservatory roofs. The pictures were step by step and in my head I was counting the costs of the materials.
After a bit of research later on the cost of the materials was about £300-£400. When he quoted me £5000 I nearly fell over. We were polite to him but we wrapped up the meeting. Just before he left he did something I really don’t like. A panic sales tactic. He said if we agreed to the work and paid a deposit within a week. He would knock off £500. This just tells me the price was over inflated in the first place. So as you can guess we didn’t give him the job.
A bit of research
I was now very keen to get this job done. Start saving money and making the conservatory look better and be more comfortable. So I had to do some more research. Basically youtube videos. But there wasn’t that many at the time and it was before I’d even considered becoming a youtuber so unfortunately there is no video to accompany this article.

Insulating a conservatory roof What insulation to use?
After not too much research of others insulating their conservatory roof I discovered a product called ‘Superquilt’ from a company called ‘YBS’. This seems to be the best product for the job and it is highly recommended by professionals. It has even been featured on ‘Grand Designs’ and ‘DIY sos’.
Materials required
- Roofing battens or 2 x 1 timber. 2 lengths required for each roof support.
- 50mm tapping screws to screw into metal roof supports.
- Superquilt blanket insulation.
- Foil tape 75mm wide.
- Staple gun and 14mm staples or longer.
- Plasterboards or other ceiling covering.
- 42mm Plasterboard screws.
- Scrim tape.
- Multi finish plaster.
- Emulsion paint.
Most of the items in this list can be found in my Amazon affiliate shop for your convenience.
https://www.amazon.co.uk/shop/spendtimesavemoneydiy
Before you start
If you are considering tackling your own conservatory roof. It may be a good idea to ask a structural engineer to see if your conservatory can take the extra weight.
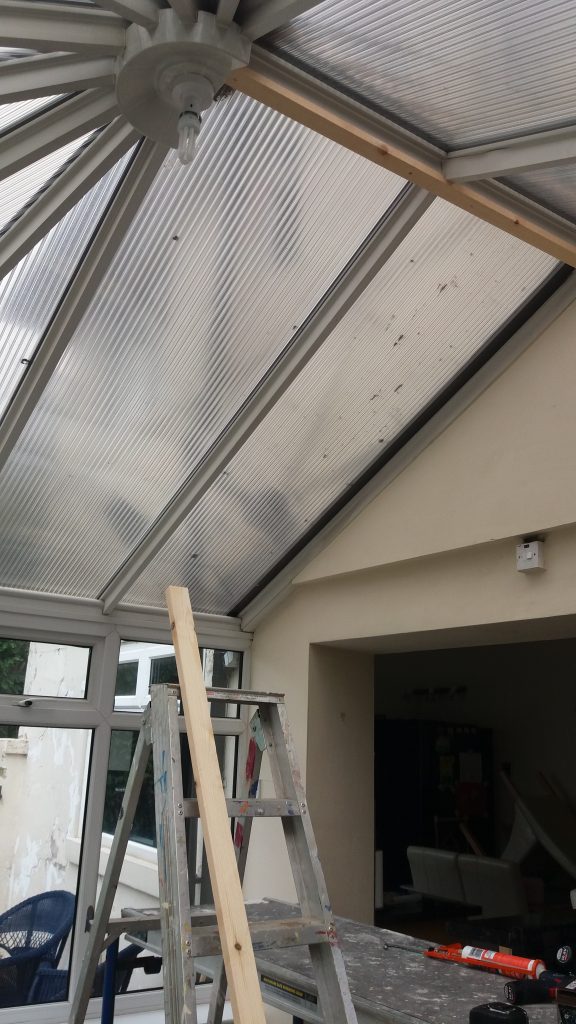
Battening the ceiling
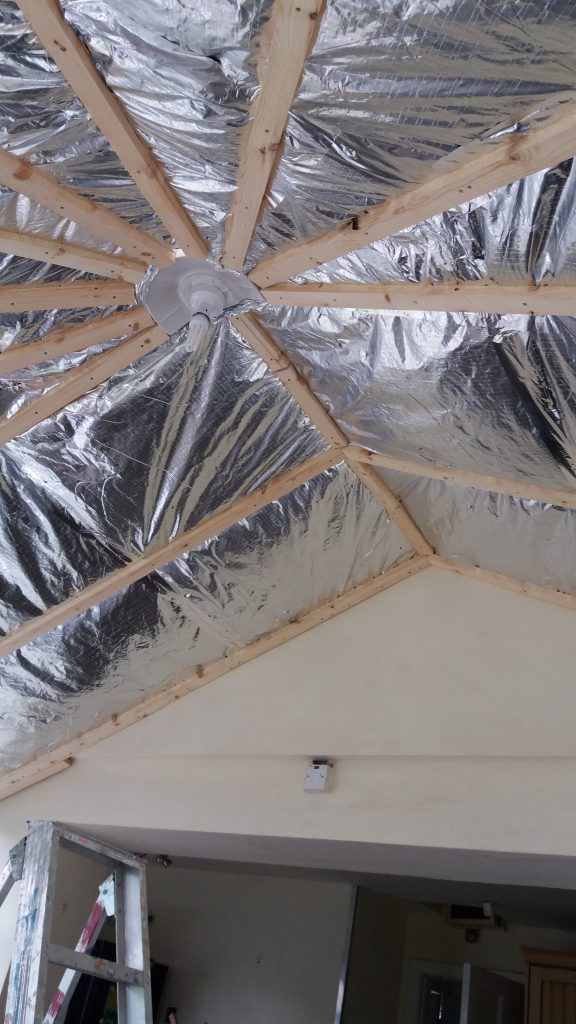
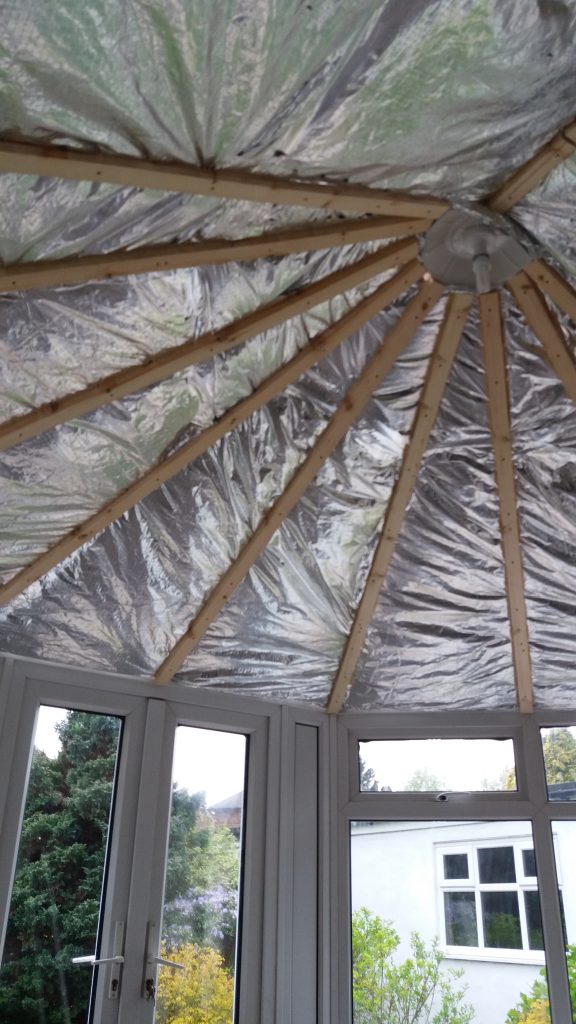
In order for the Superquilt insulation to be efficient it needs an air gap in front and behind it. Therefore each roof support or rafter needs a 2 x 1 batten fixing to it. I used a cordless drill and a 3mm drill bit to drill a pilot hole through the timber into the metal. This makes it much easier to drive the screw into the roof supports. I screwed the battens about every 300mm to get them fixed well.


Attaching the Superquilt insulation
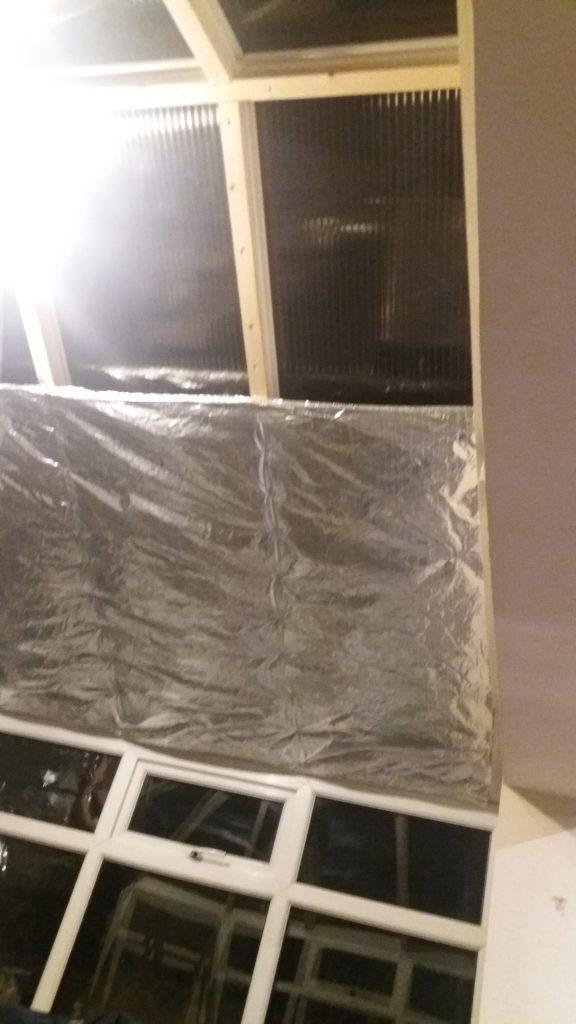
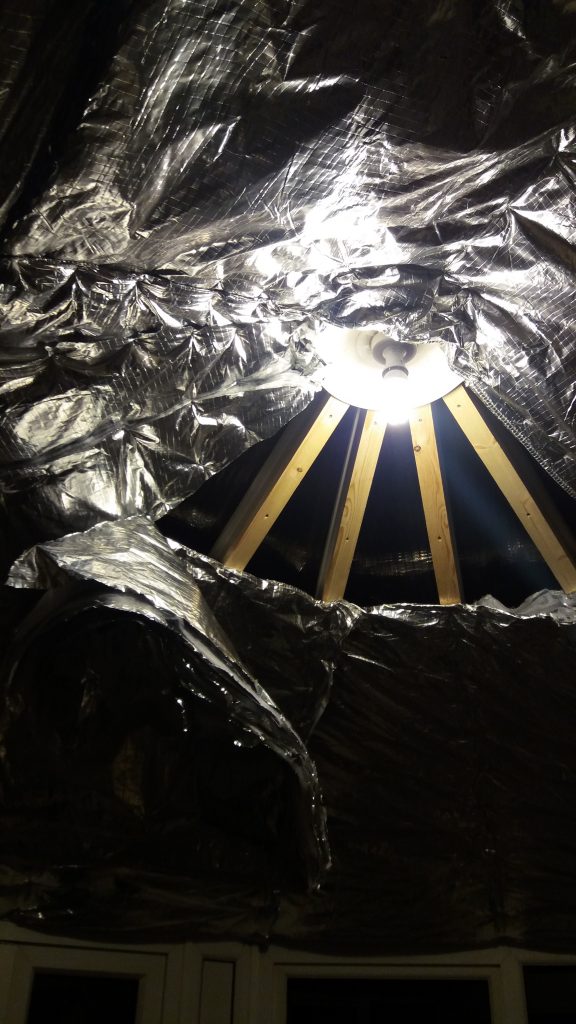
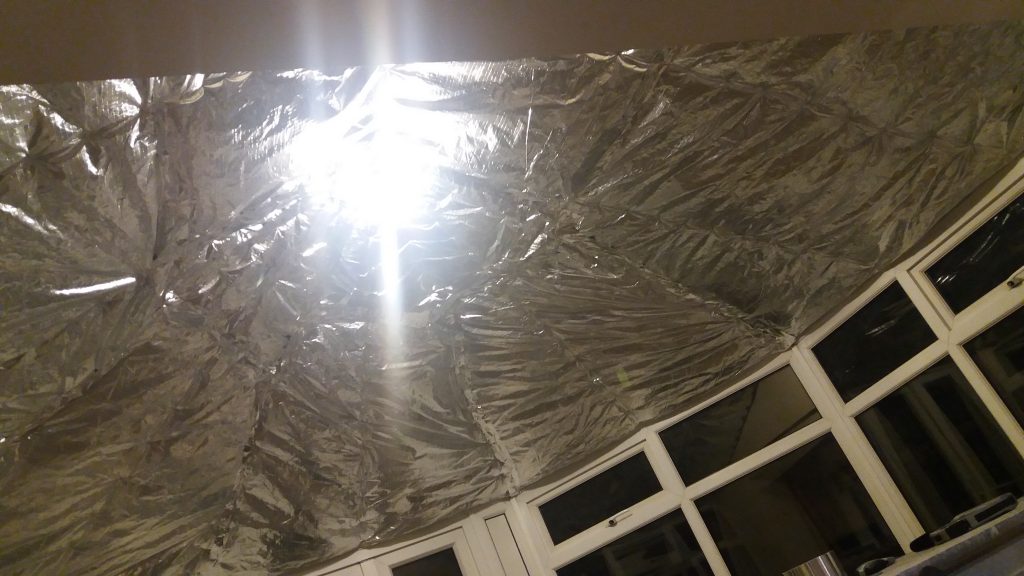
This type of insulation is brilliant for this kind of job. It is very flexible, ideal for awkward roof shapes. Easy to cut, I used a pair of wallpaper scissors, no saw required. Very thin and thermally efficient. Very little waste as it can be pieced together. Fairly low cost. Easy to fix in place with staples.
Because of the awkward shapes in the conservatory roof there was a lot of cutting to do. I first tried using a stanley knife but I found this a bit difficult. I then tried using a pair of long wallpaper scissors. These cut through it brilliantly.
The insulation is attached to the battens using a staple gun with 14mm staples. Where any joins need to be made then it’s just a case of overlapping the insulation by 75mm and using 75mm aluminium jointing tape to seal the join. I also used this tape to seal around the edges of the insulation to eliminate any draughts.

Over battening
Now that the insulation is in place. More battens are needed on top of the first ones. This creates an air gap and gives the plasterboard somewhere to be fixed to.
I cut the battens to length. Drilled 3mm pilot holes spaced about 300mm apart and used 50mm screws to screw through the battens, through the insulation and into the first battens.

Plasterboarding
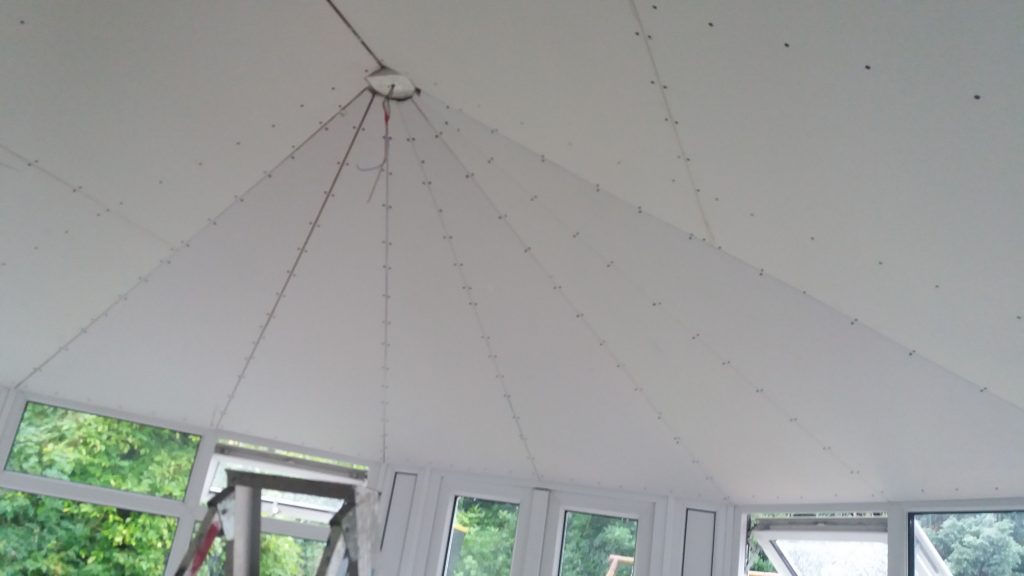
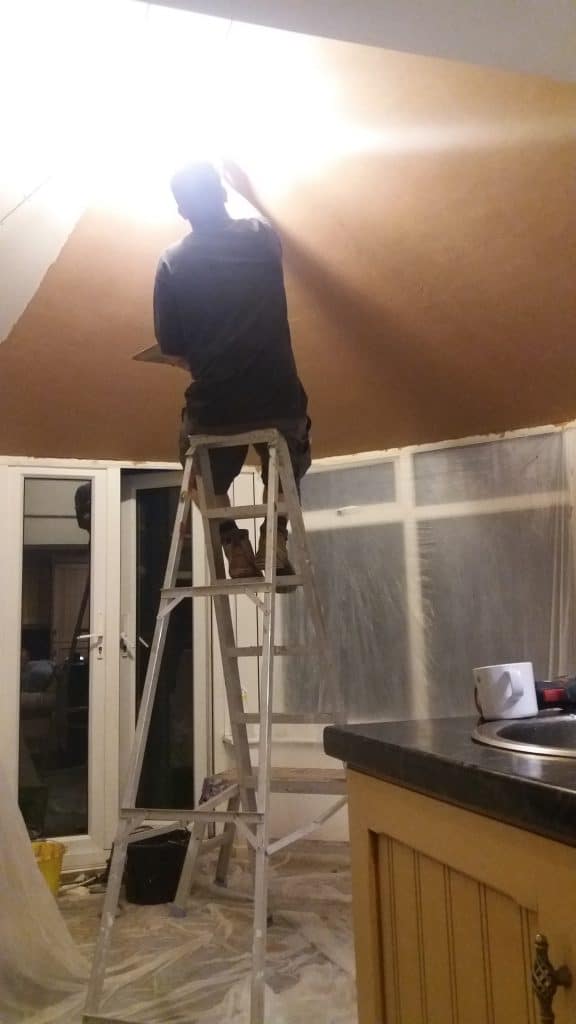
I’m not going to lie to you. Plasterboarding this ceiling was difficult. The shape of the ceiling meant I had some nice angles to find. I had to call a favour in from a friend to give me a hand. You may even need a third person, 2 to hold in position and 1 to screw the boards to the ceiling. We managed to hold the boards in place and screw them up with just the 2 of us but it was awkward.
I used 42mm Plasterboard screws to fix the boards to the ceiling to give a good fix through into the battens behind. I put the screws in every 150mm or so and make sure the screw heads are just below the surface.
To work out the angles of the ceiling I used a sliding bevel. This can be held in place and the angle set. It can then be transferred to the boards. The plasterboards can be easily cut by scoring with a stanley knife following a straight edge, then snapping the board at the score and cutting the backing paper.
When all the plasterboards were fixed in place I used scrim tape over the joints and over the screws to avoid cracking later on.


Plastering
OK, this is where you may want to call in a professional plasterer.
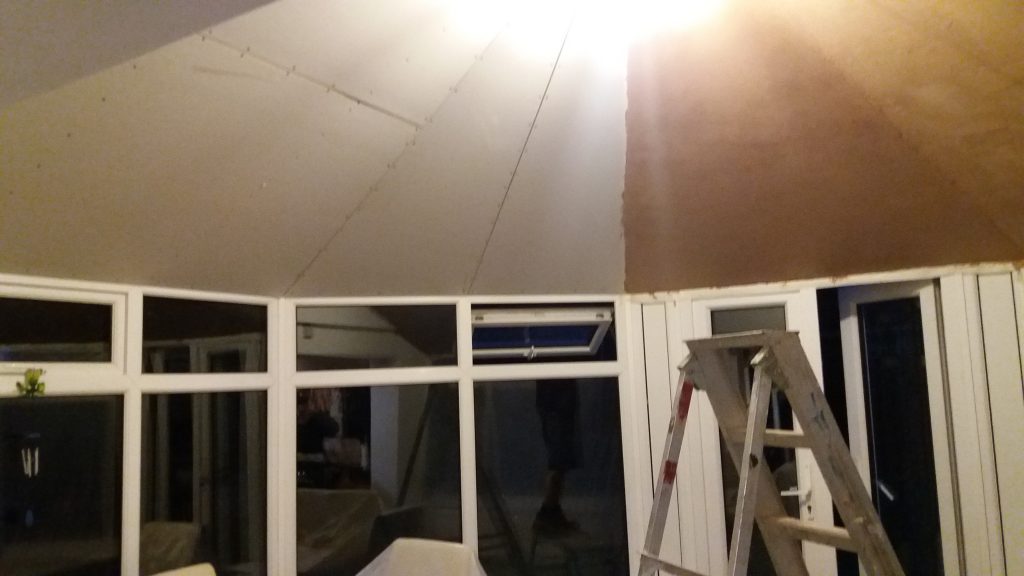
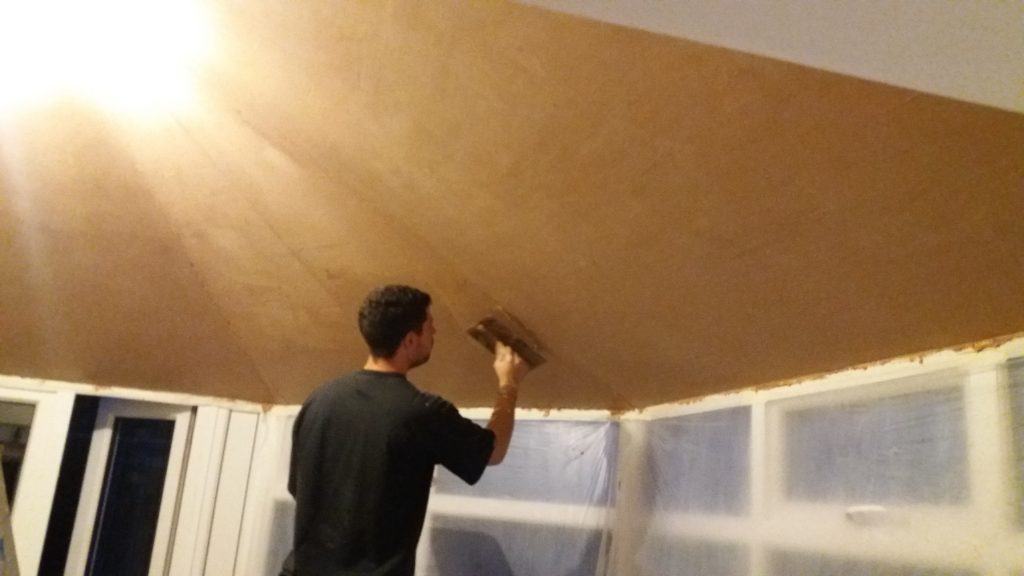
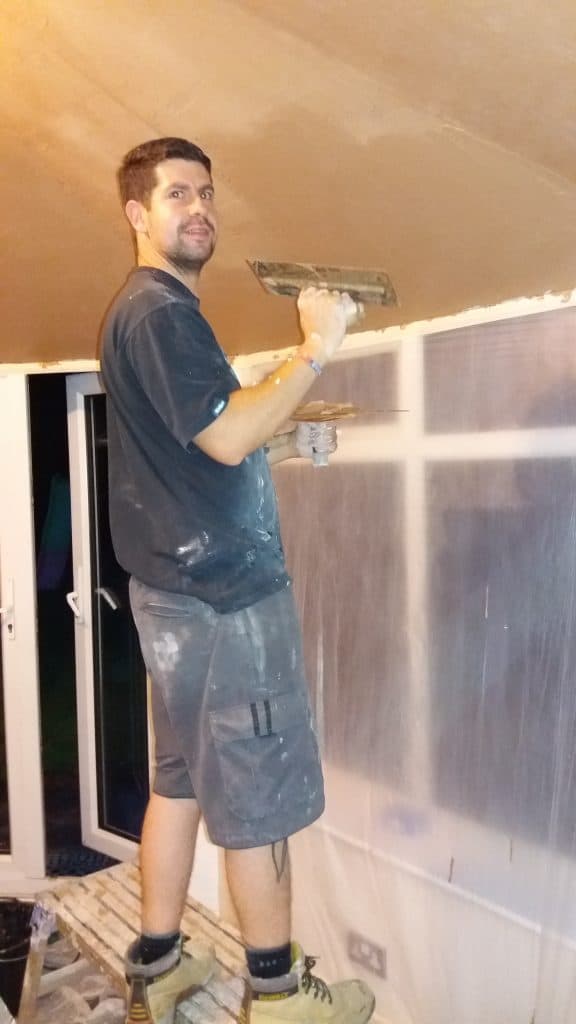
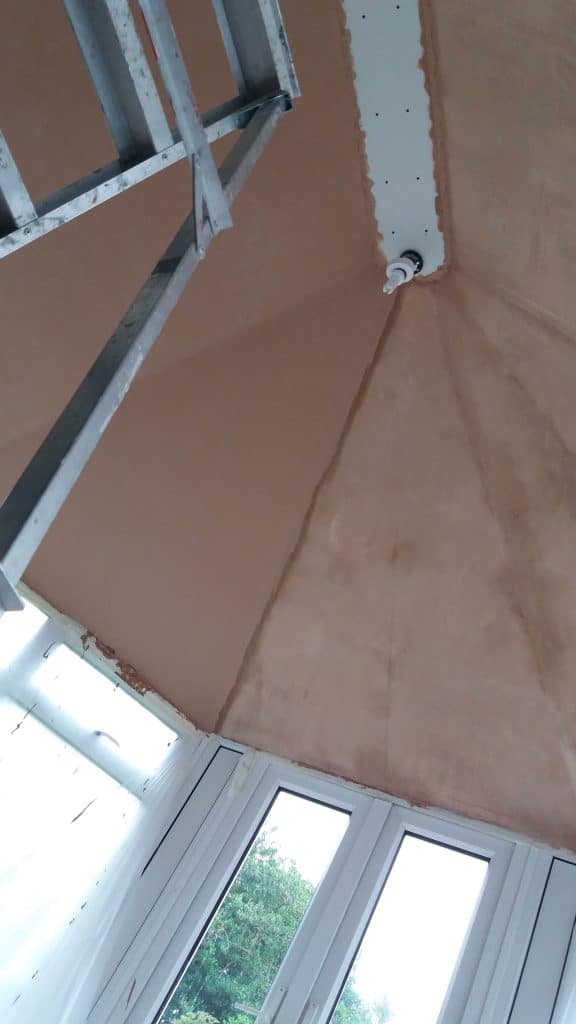
I plastered the ceiling myself. It was only the second time I had ever plastered and although it was difficult, I did a fairly decent job of it. I did 2 sections of the ceiling at a time so that I wouldn’t have 2 wet edges together at the same time. If I wouldn’t of had a go, I would never have found out I could plaster. And doing the plastering myself I saved a few hundred pounds.
A little sanding and a little bit of filling and it looked like a professional job.
Warning
Never fill bare plaster!!! I found this out the hard way on this ceiling. If you fill the bare plaster, even if you sand it, the paint won’t stick to the filled area. So always fill plaster after a coat of paint is applied.
Painting fresh plaster
Plaster must be left for at least a week before painting it or until it is fully dry. The first coat of paint should be a ‘Mist coat’. All a mist coat is, is a watered down coat of emulsion paint. Usually at a ratio of 50/50 water to paint. This is so the paint soaks into the plaster rather than it just sitting on top of it, with a chance of it flaking off. After the mist coat I would recommend a further 2 coats of emulsion to ensure good coverage. Here is an Amazon affiliate link to the paint I use.
I have a video about mist coating if you would like to check it out.
All finished
So that’s how I went about insulating a conservatory roof. It’s now 3 years since I did this ceiling and I’m really glad I did. The conservatory is now warm in winter and cool in summer. And it is saving us money on our energy bills.

Thanks for reading and watching
I hope this article helps you with your project. If it has then please leave me a comment and let me know how you get on. Be sure to watch my Youtube video that accompanies this article and remember to Like, share and subscribe to help the channel grow. You can follow me and our house on Facebook and Instagram for the latest projects on our renovation or my latest DIY tips.
Making videos and blogs to help others improve their DIY skills takes a lot of time and can also cost a lot of money. If you would like to make a donation to help the channel and website grow, develop and improve it would be greatly appreciated and put to good use. Just follow the Paypal link below. Thank you in advance.
https://www.paypal.me/spendtimesavemoney
That looks a cracking job rob. It made me chuckle when you said the salesman started with the usual balonie you would think that the salespeople no there usual routines have been sussed out. if they were just genuine & not so greedy they would probs get more customers. I bet the wife could hear the cogs in your head starting up when he started showing you the method they use. Haha. keep em coming Rob.
Great Article.
We had a quote of £3k yesterday for a 3.3×3.5 conservatory, so priced up everything short of the plastering itself (not in my skillset) came to less than £400 !
Your article confirmed that I can do most and save £2k in the process.
Always Happy to pay trades what they are worth, but £2k labour and profit for less than 2 days work is a bit much !
Cheers
Hi! I’m interested to know if this helps with rain noise? I’m going to be using our conservatory as a dining room but it’s deafening when it rains!
Hi Amy, yes it makes a huge difference to the rain noise. Even when the rain is really heavy it is quiet in the conservatory.
Hi, do you think it would work using tongue and groove wood instead of the plasterboard? Also I’m concerned about the weight of adding anything to the roof, it doesn’t look very strong!
Hi Becca,
Timber tongue and groove might be a bit heavy depending on thickness, an alternative is plastic t & g.
If you are in any doubt about the strength of your roof please seek advice before starting any work.
Thanks Rob
Hi Rob
Just finished my 3mt x 4mt conservatory and clad the inside with white plastic t and g it looks great and cost me just over £320. My friend next door had his done 6 months ago and paid £4200 he couldn’t believe how good mine looked and it only took me 3 days!!
Great job! What does it look like from the outside now, we are thinking about doing this to our conservatory which has a glass roof. Not wanting to tile the outside to.
Because we have a polycarbonate roof you can’t really see the insulation. A glass roof you would see it.
do you batten around the tops of the windows? did you tape the superquilt to the tops of the window aswel?
Yes batten around the tops of the windows otherwise there will be flex on the plaster boards and the plaster will crack. Seal everywhere with the tape so there’s no chance of any drafts
HI Rob, A great description of your work, it has helped me decide to do the same to my conservatory. A question when drilling a pilot hole in the beams, is there any concern about a water leak although there is a weather cover over that entire part of the beam and is it important that the insulation does not touch the polycarbonate or the inside ceiling. I’m going to use plastic T&G on the inside. Since completing your conservatory ceiling is there anything you would have done differently.
Thanks again for the inspiration to get on with mine.
The screws are into a box section beam so there is no chance of a water leak.
There needs to be a gap between the insulation and the polycarbonate and also between the insulation and the ceiling to stop any thermal bridging.
Hope you enjoyed the post and you might enjoy the video I did as well.
Let me know how you get on. Good luck 👍🏼
The work you carried out looks excellent, I looking to do the same, I have one question but,did you require building regulations to carry out the work,
As far as I know you don’t need building regulations for this work.
Hi Rob – could I just ask we’ve just done our conservatory insulation and attempted a UPVC roof which provided more difficult then excepted. We have a fairly large and well built conservatory, if we get a plaster boards is there risk of collapsing the conservatory? I’ve read some horror stories and I’m now very anxious of what to do.